making seamed box cushions
2023.12.12
Victoria, BC, Canada.
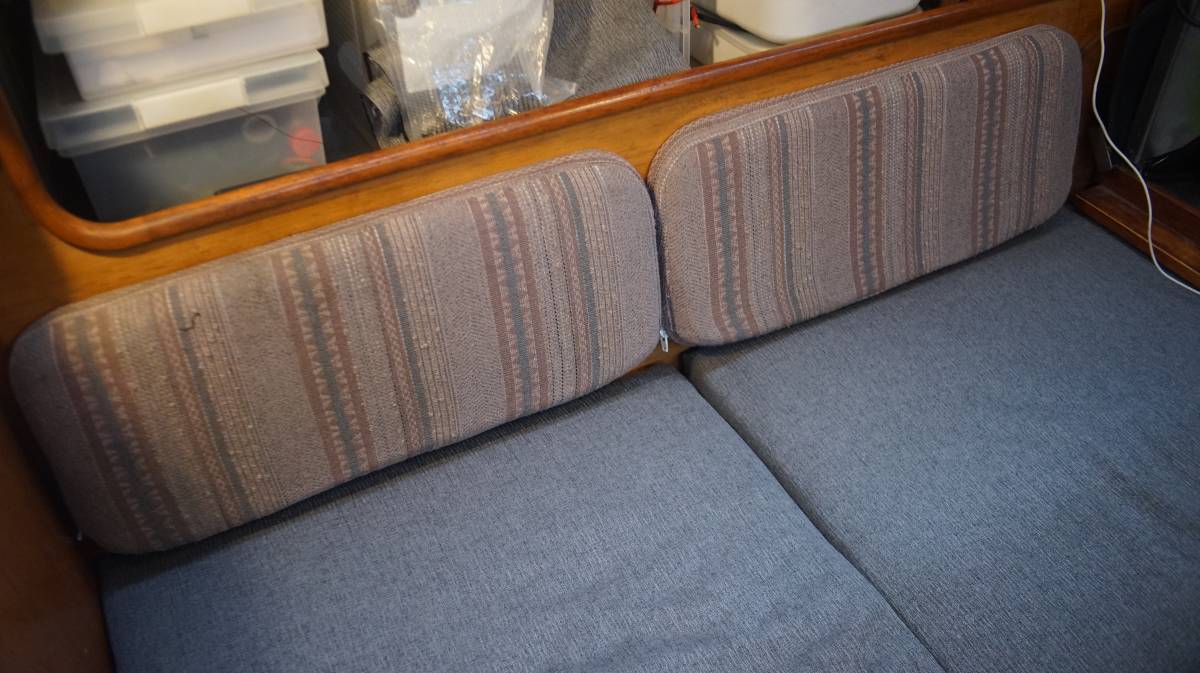
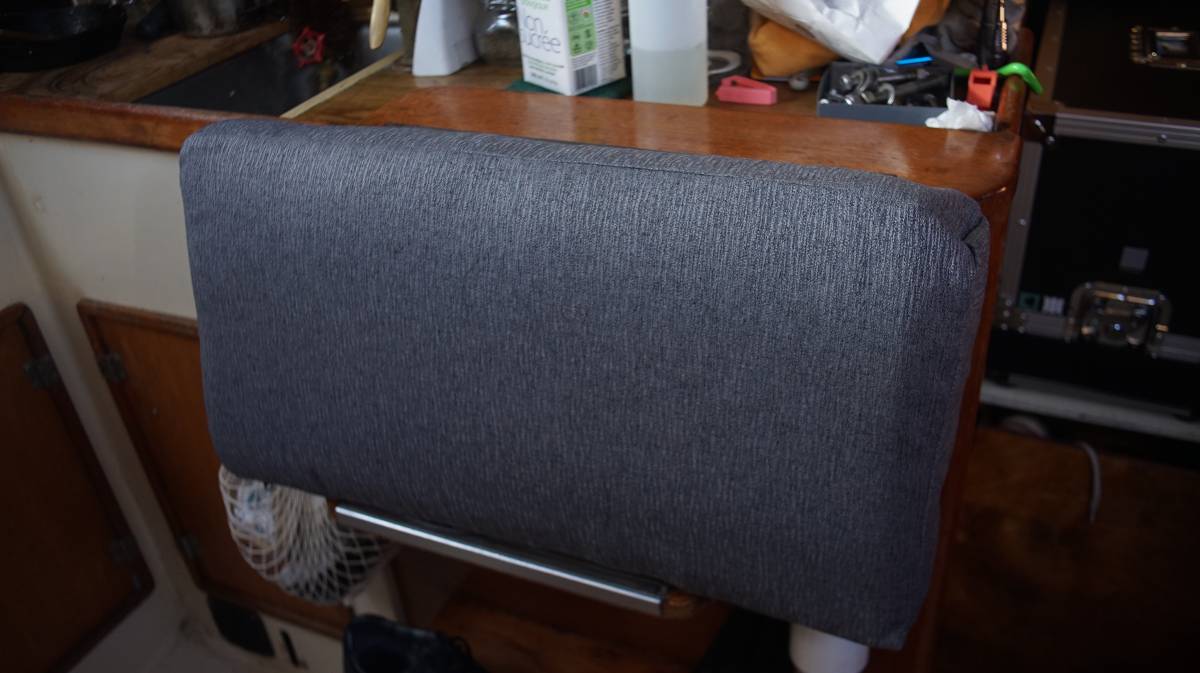
Before:
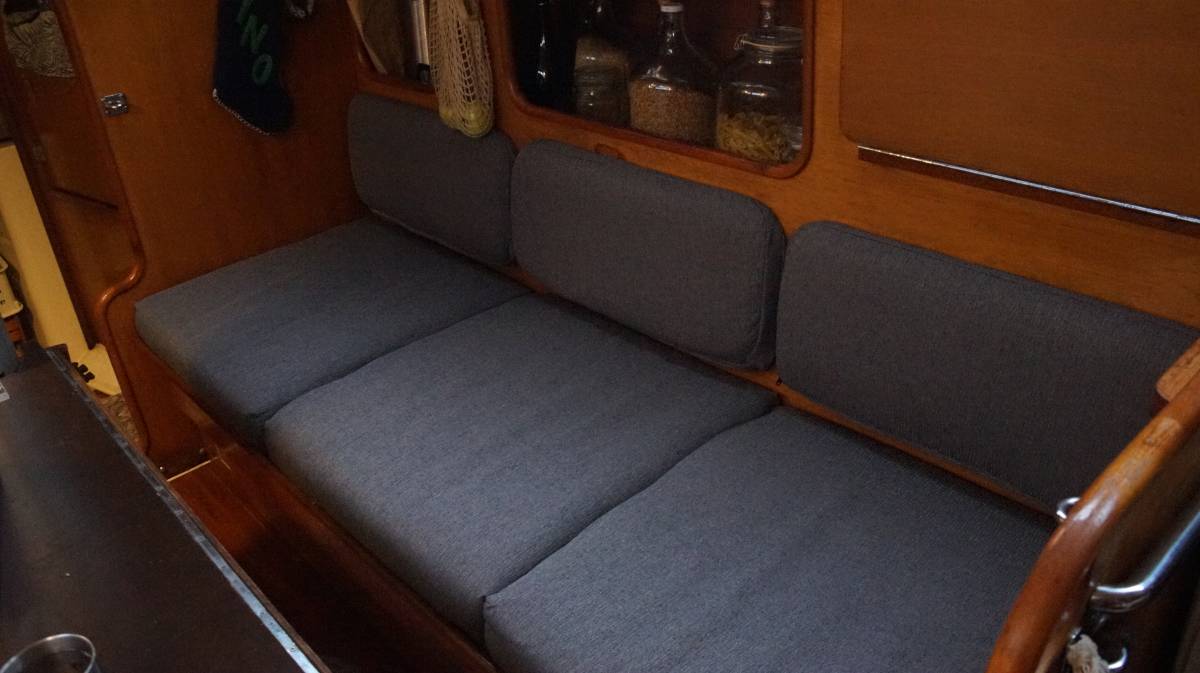
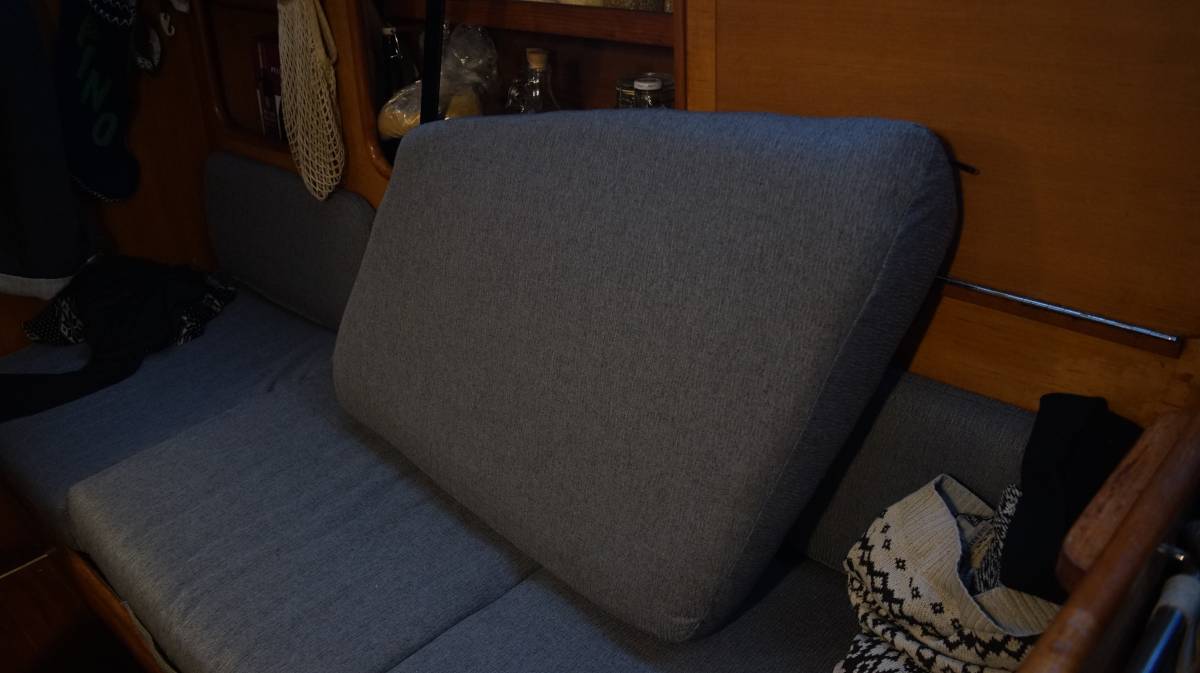
After:
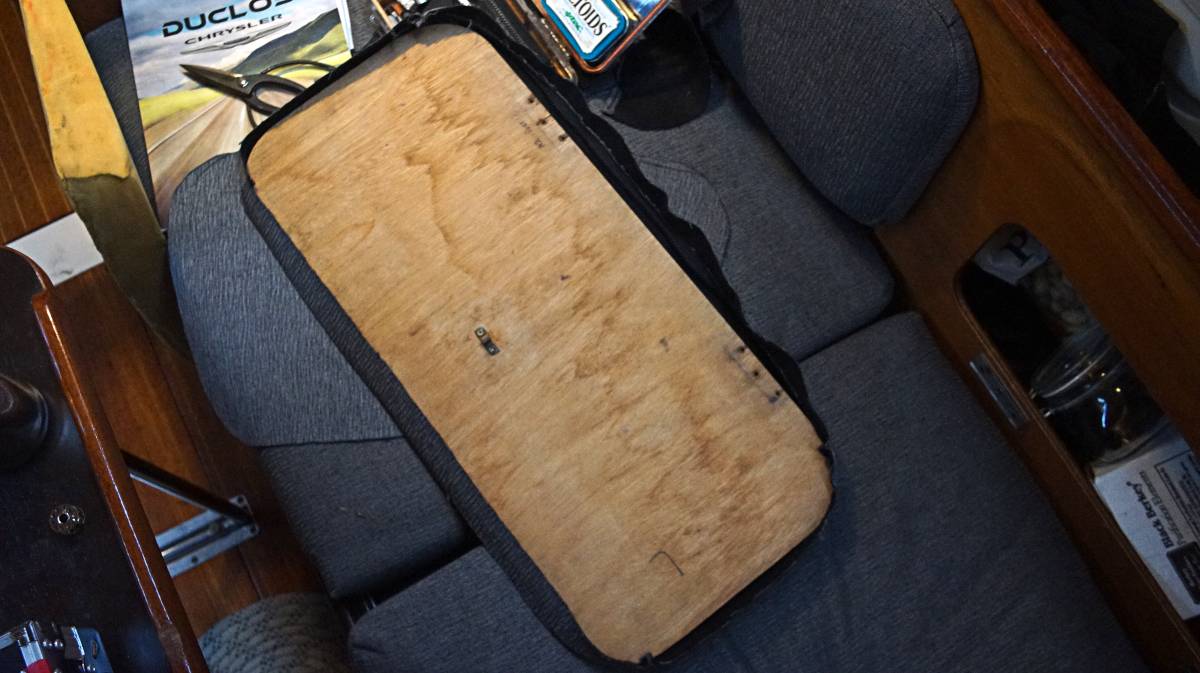
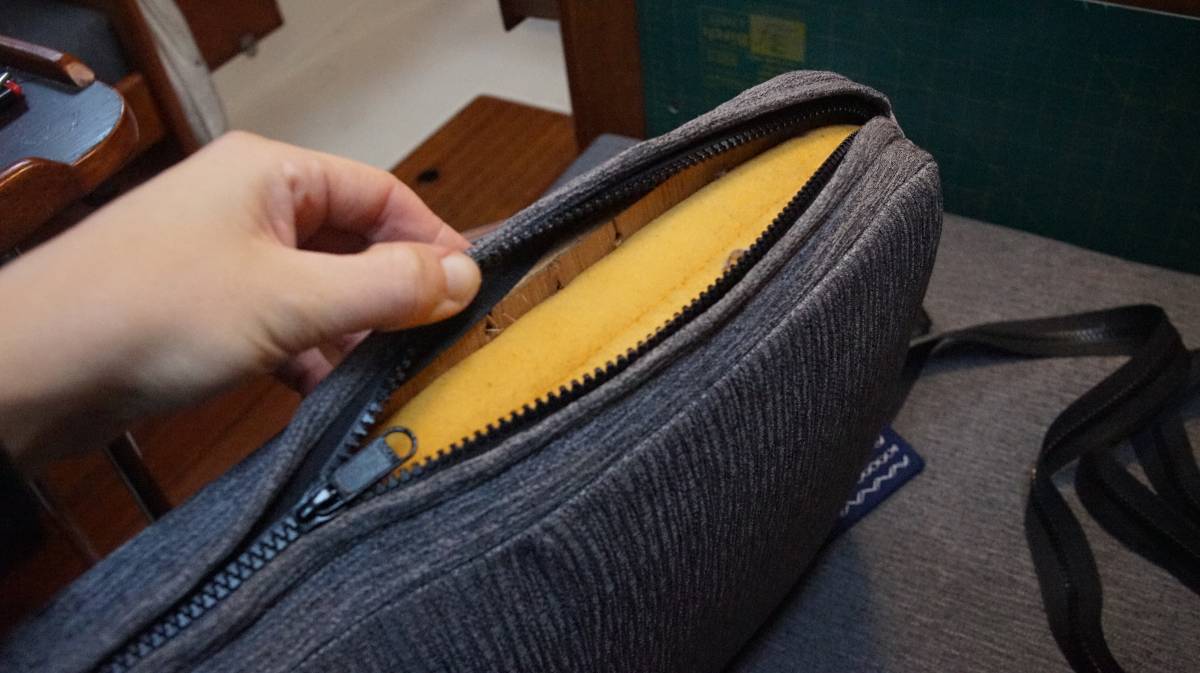
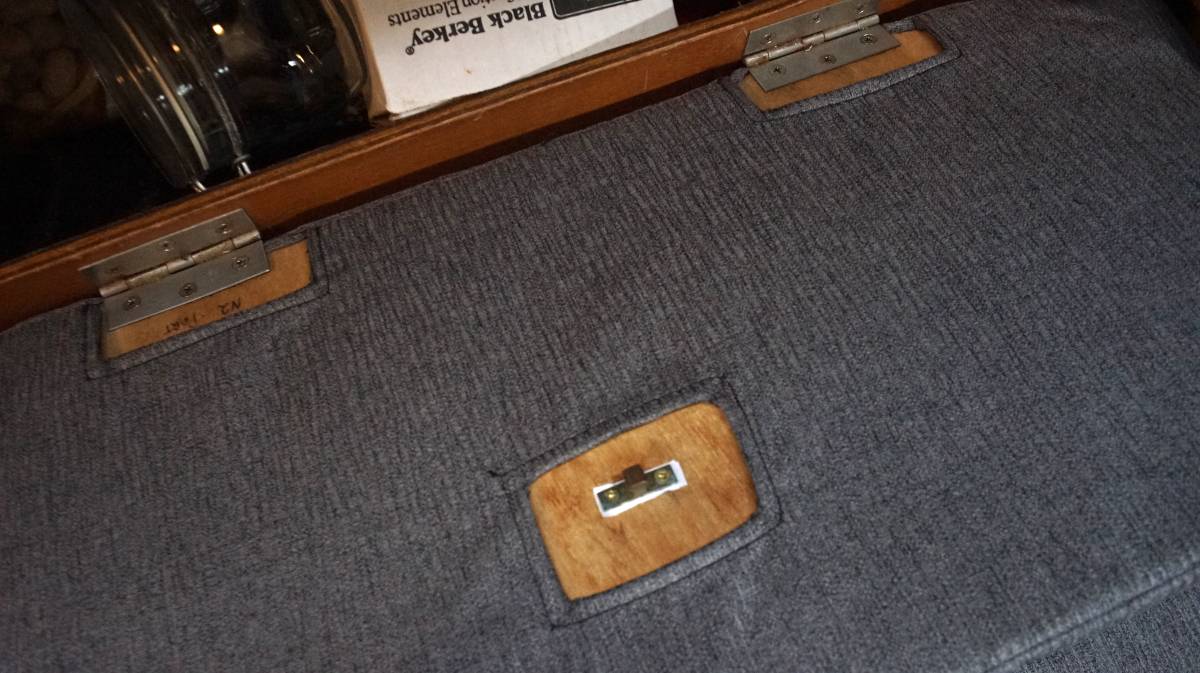
Pino's backrests consist of a cushion, varying from thick to thin(bottom to top), set onto a wooden backing board with rounded corners, the cover has a zipper(for easy removal), the back of the wooden board has a ball catch(to keep the locker closed) and two hinges at the bottom(to attach the door to the wall). We decided to make our backrests with seamed corners, instead of aiming for continuous boxing (mostly because the fabric doesn't have a pattern).
We re-used the existing foam.
This was the most complex sewing project(to date) aboard Pino. We followed both the How to Make Salon Cushions, and the How to Make a Platform Cushion tutorials by Sailrite to do it.
As with most boat projects, when making patterns, it is better to assume that no part of the boat is the same. We used the wooden cushion backing from each backrest, removing the cushion and cover each time to draw out a pattern on our fabric. The hinges and ball catch weren't always positioned the same, so the pattern cannot be drawn once and used as a base for the others.
Build list
For our backrest, we need...
- 1 top plaque
The top plaque should be the size of the foam, plus 6.3 mm (1/4 in) on all sizes. - 2 side boxing strips (that narrow at the top)
To determine the boxing width, measure the foam thickness(plus the backing) and add 6.3 mm (1/4 in) to the width. Thick cushions look better with less allowance, thinner with more. Boxing strips ought to be the same length as the sides of the top and bottom plaque. - 1 top boxing strip
This boxing strip ought to be a bit shorter than the width of the backing board(because it has rounded corners). Add 6.3mm (1/4 in) to the width. - 1 zipper plaque(bottom boxing strip)
The width of the backing board and foam PLUS the added width of the zipper, PLUS 6.3 mm (1/4 in) seam allowance to the width. - 1 bottom plaque(with 3 holes to accommodate the hardware)
Bottom plaque should be the size of the backing board, plus 6.3 mm (1/4 in). - 1 YKK zipper
Cut the zipper long enough so that the wooden backing board can be inserted into the cover, usually the length of the zipper plaque.
General Tips
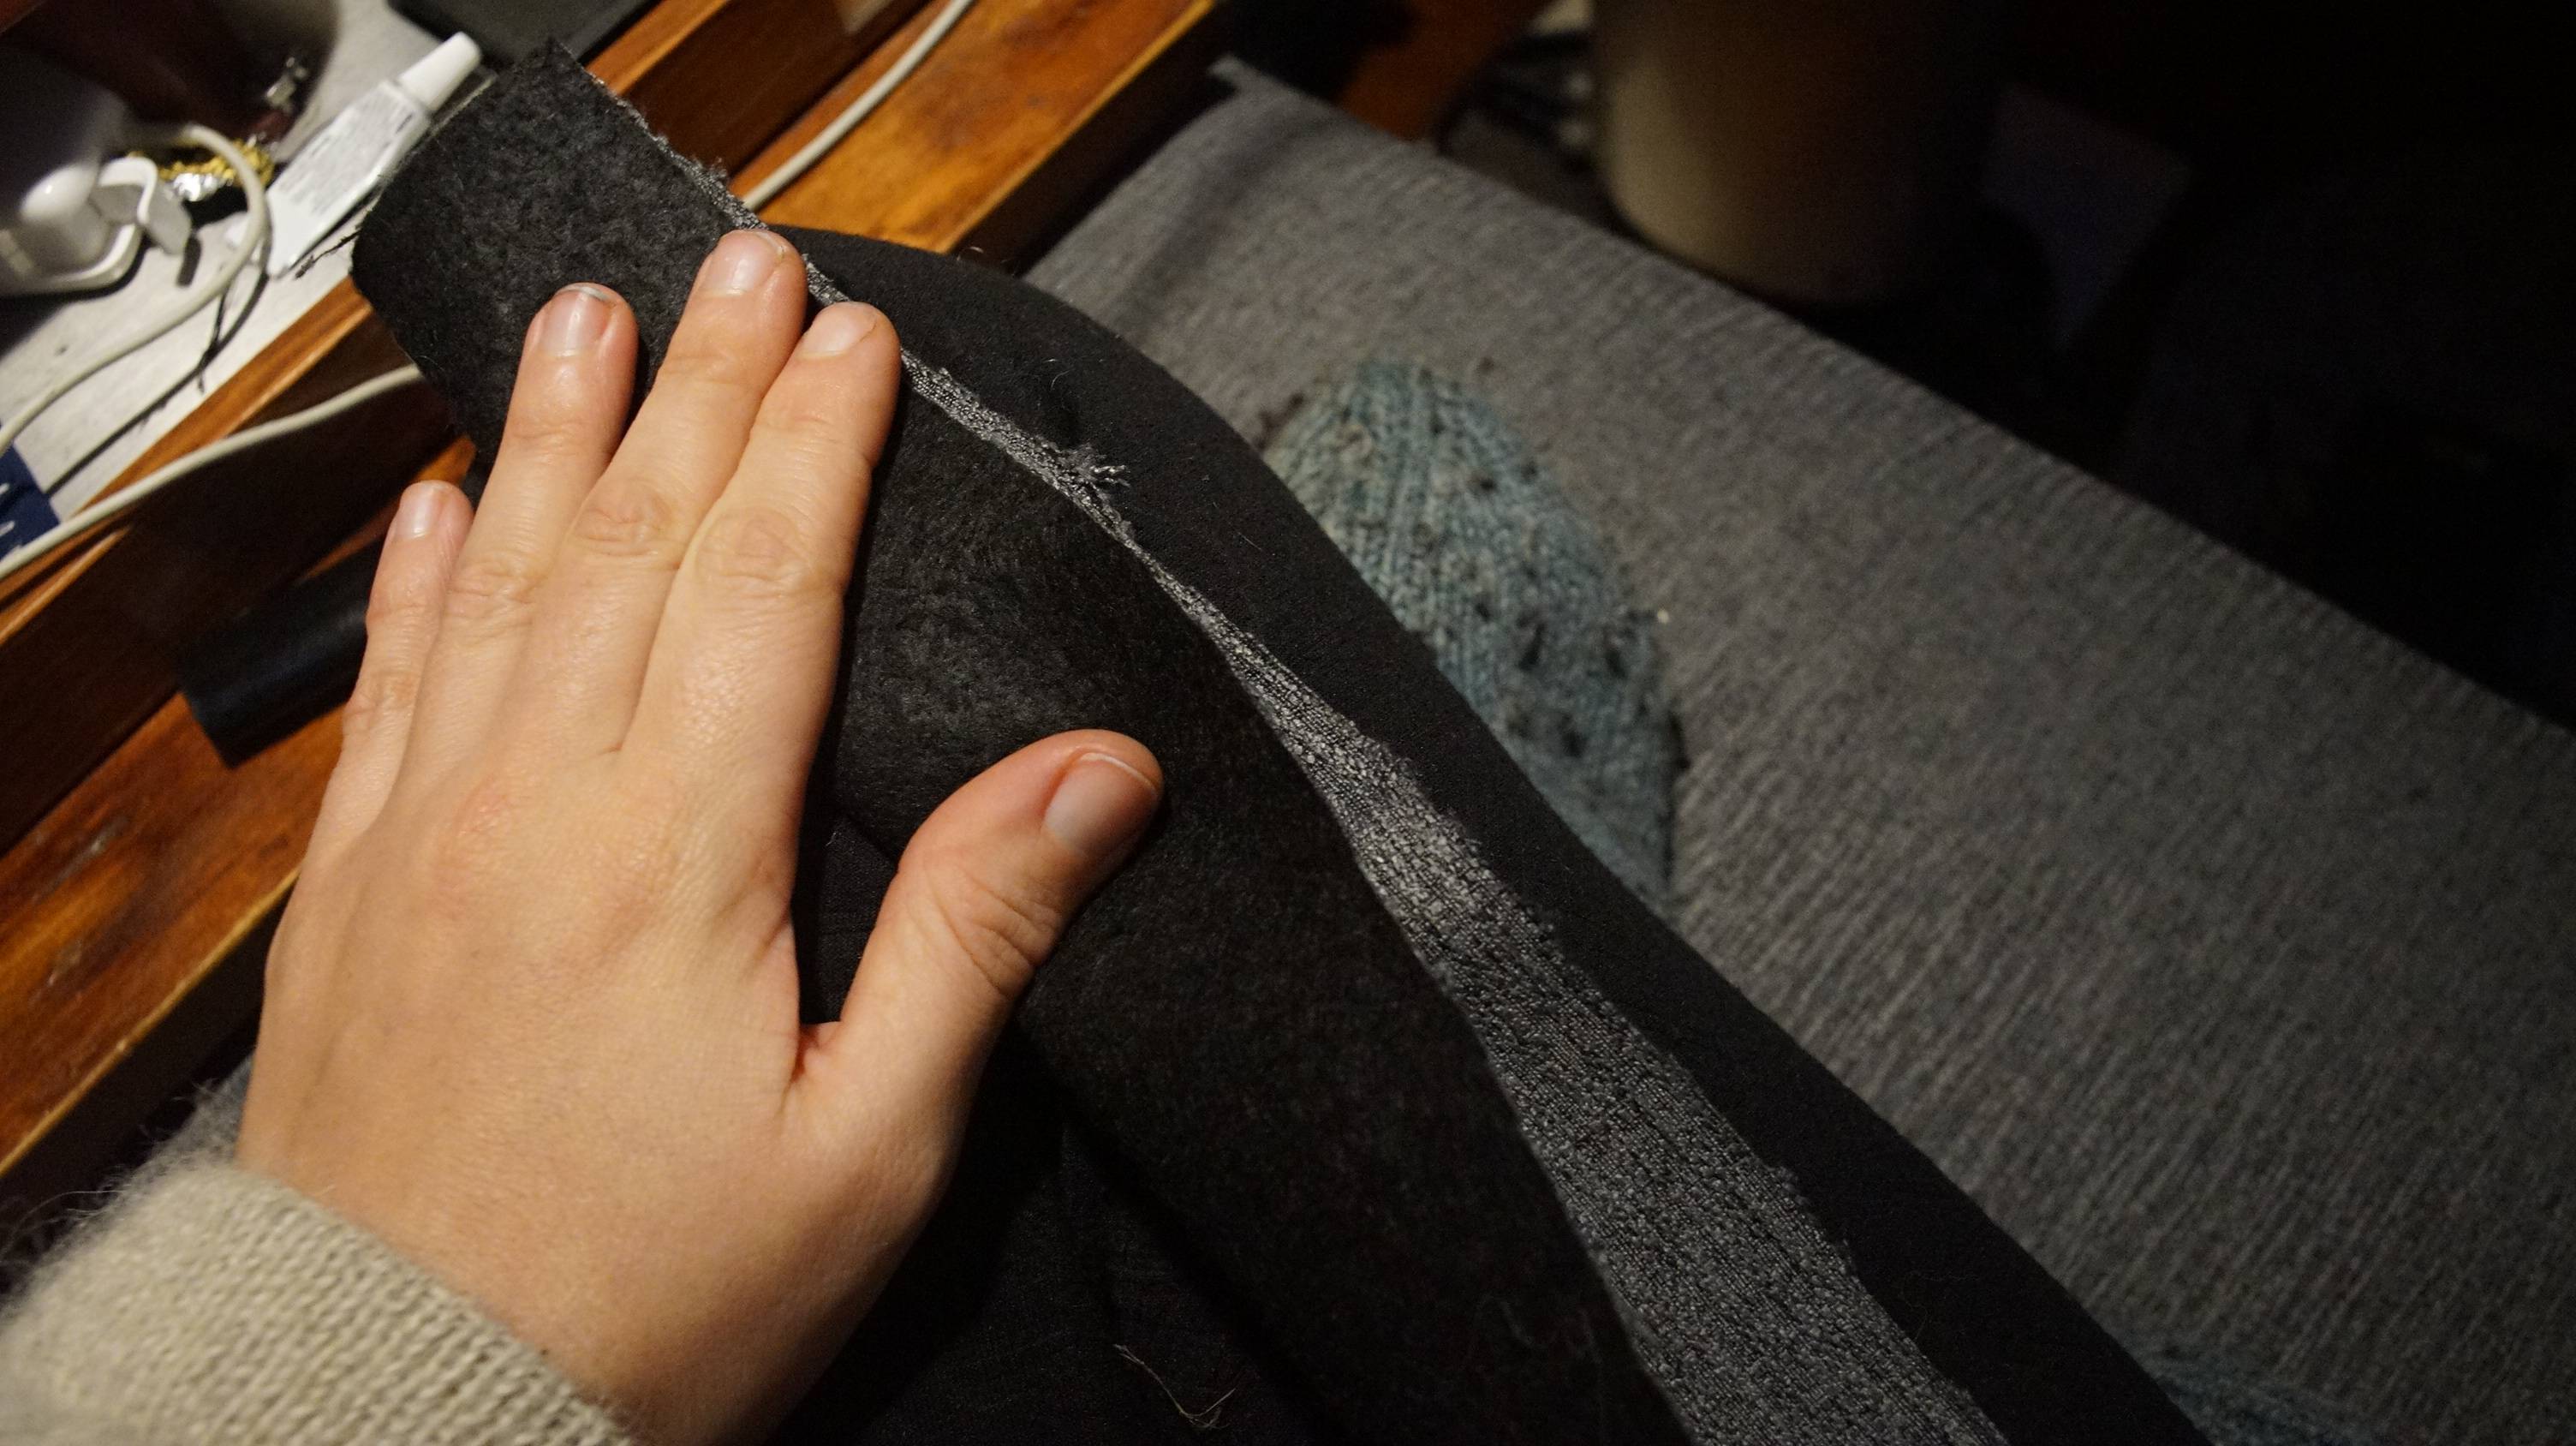
When measuring the width of boxing strip with batting. If the foam has polyester batting, compress the foam lightly with your hand to measure the width. Cushions look best when the cover is tight and compresses the cushion a little. A thicker foam cushion looks best with less seam allowance, and thinner cushions look best with more.
Rounded corners. When making the boxing of a backing board with rounded corners, take the curve into account when making patterns. The side or top boxing strips will have to be cut a bit shorter, which one is shorter depends on the look you want for the cushion and where you want the seam to be. A shorter top strip boxing will bring the seams along the top, a longer one can bring them lower along the bottom of the rounded corners, etc. On a square cushion with sharp corners the boxing will be the same length as the top and bottom plaque.
Needle. Make sure the needle of your sewing machine matches the fabric, heavier-duty fabrics have different requirements.
Needle Pucker Phenomenon. The shrinkage of fabric due to sewing, even if everything is measured correctly, is still possible. The boxing may not match up to the top and bottom plaques even if they were the correct length. Adding extra allowance helps to protect against this. The type of fabric being sewn, the sewing machine model being used, and how much you pull and tug while sewing, can create this phenomenon.
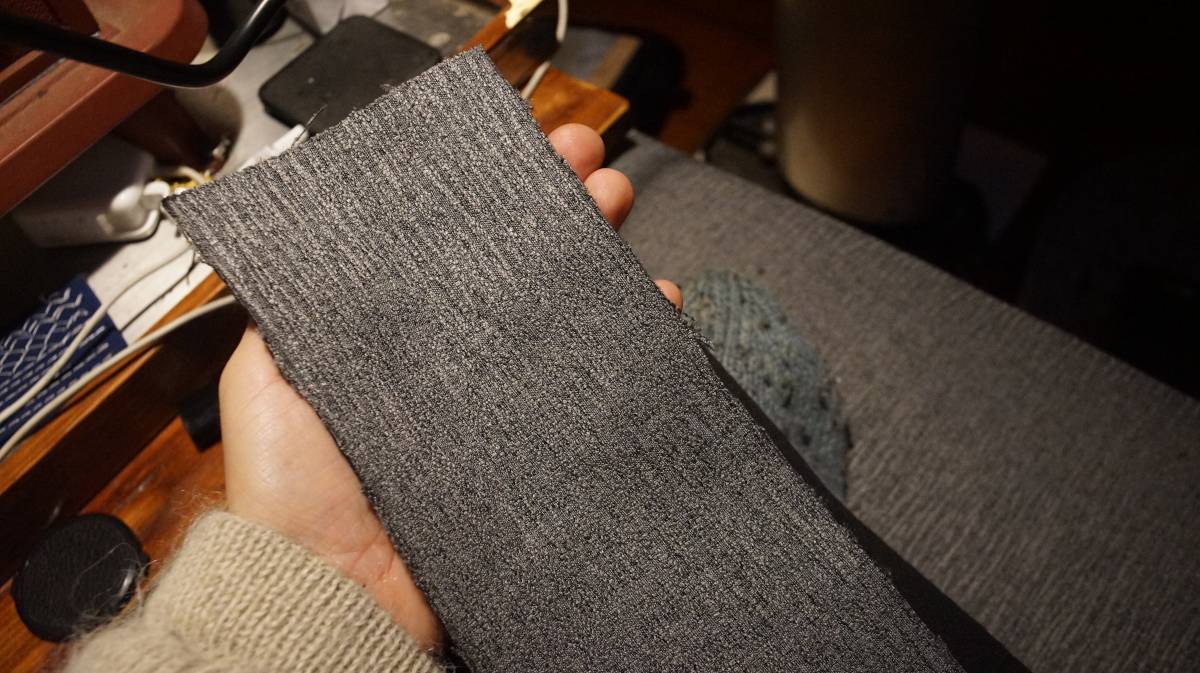
Pattern matching. If the fabric has a pattern that repeats(stripes, for examples) make sure that they will align how you want (see this Sailrite tutorial on how to match patterns on all sides). Care should be taken with fabrics that have a clear line direction but that don't need to match up perfectly. The line directions on the top plaque of the backrest ought to align with the ones on the top of the seat cushion.
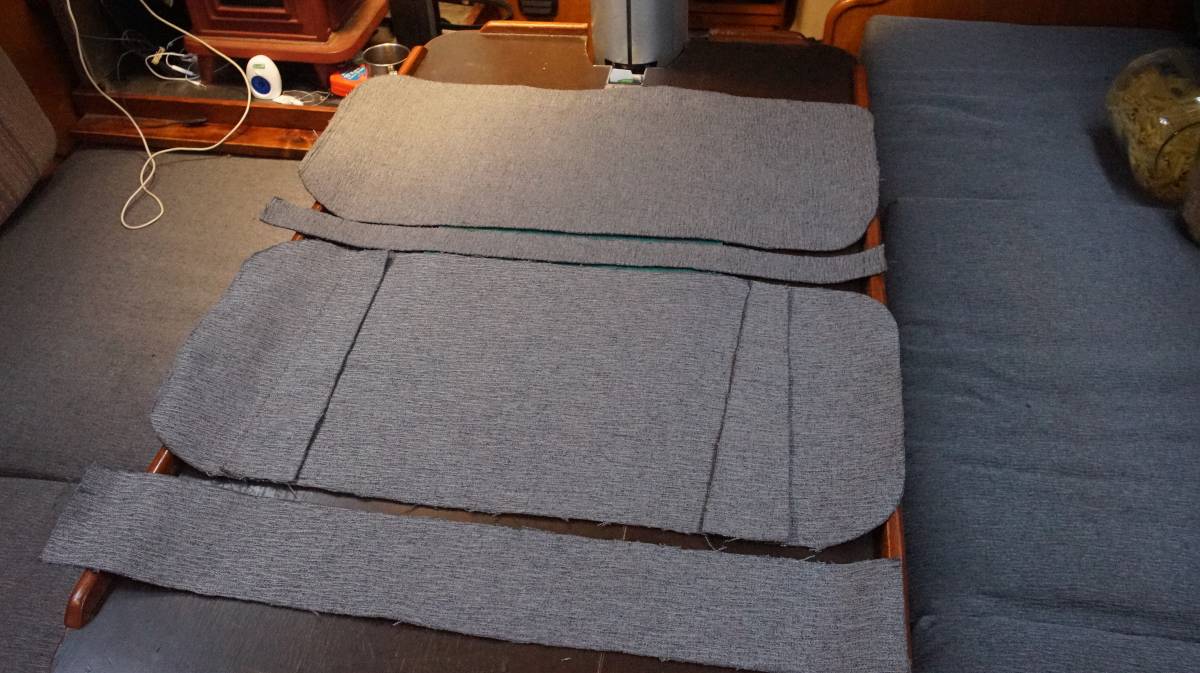
STEP 1
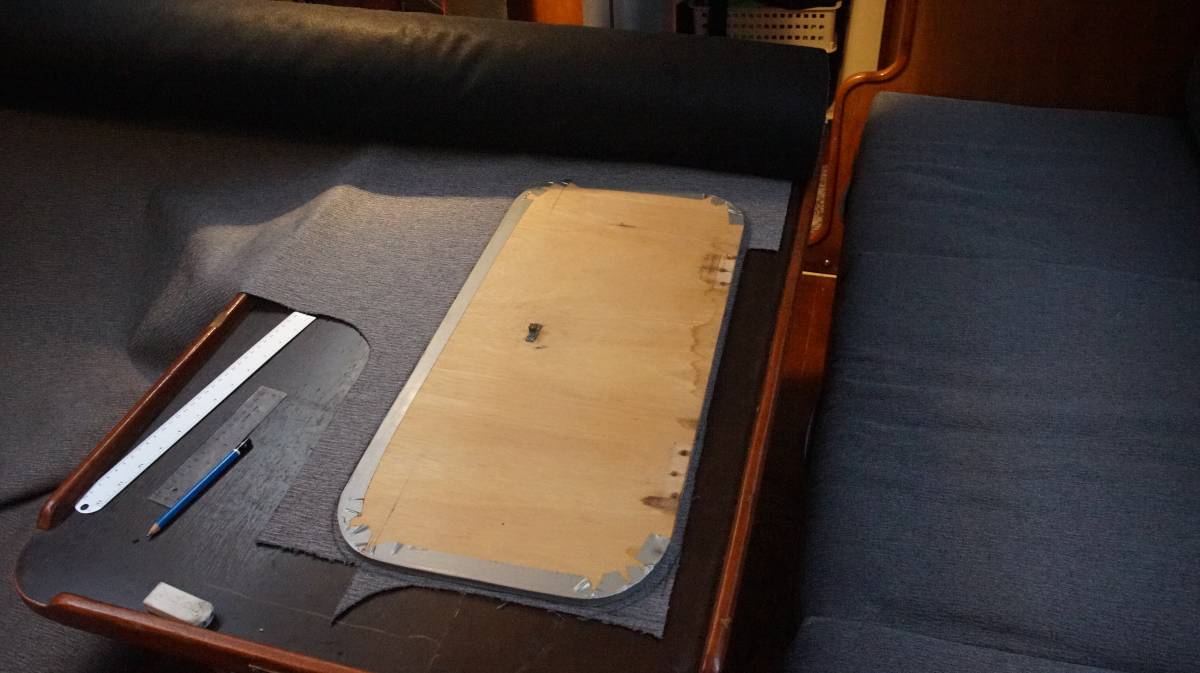
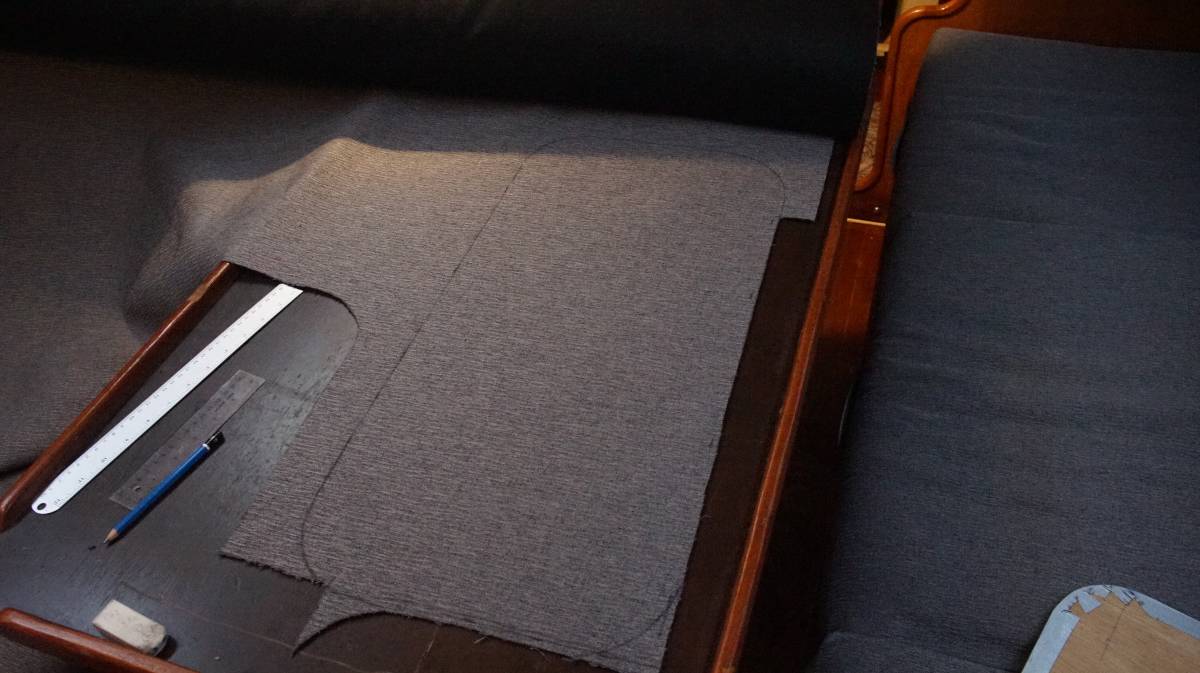
Use the backing board(or foam) to draw the patterns on the fabric(checking that the pattern orientation is correct), with the correct seam allowance added, and cut the pieces with a pair of scissors. Using a knife that burns the edges would be even better, because it keeps the edges of synthetic fabrics from fraying(we don't have one though), we use a pair of small Japanese shears.
STEP 2
Sailrite made an excellent video about making a zipper plaque, watch it here, start video at 11:58 minutes.
To make a zipper plaque, fold the zipper plaque in half lengthwise(with the outside faces facing each other).
Place the zipper on top of the fold so the teeth of the zipper are centered on the fold, and mark the edge of the zipper fabric.
Draw a line across the whole length of the fabric, and then sew along that line using long stitches.
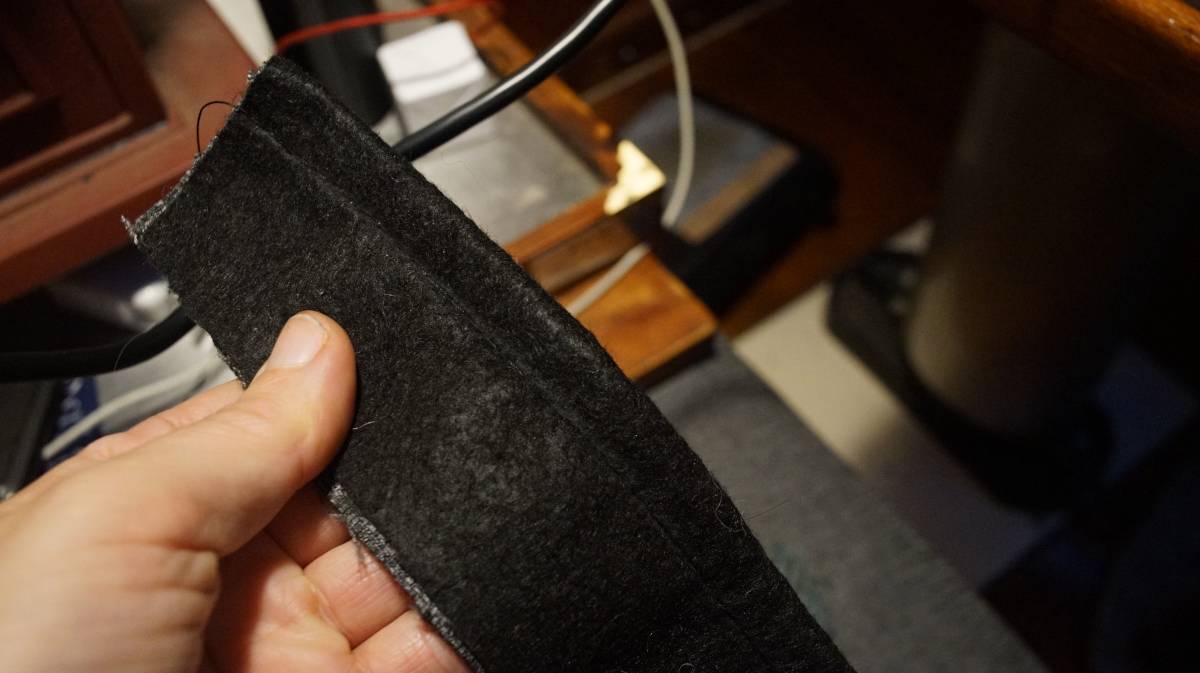
With a pair of scissors, cut along the fold all the way down the length (effectively splitting the zipper plaque in two).
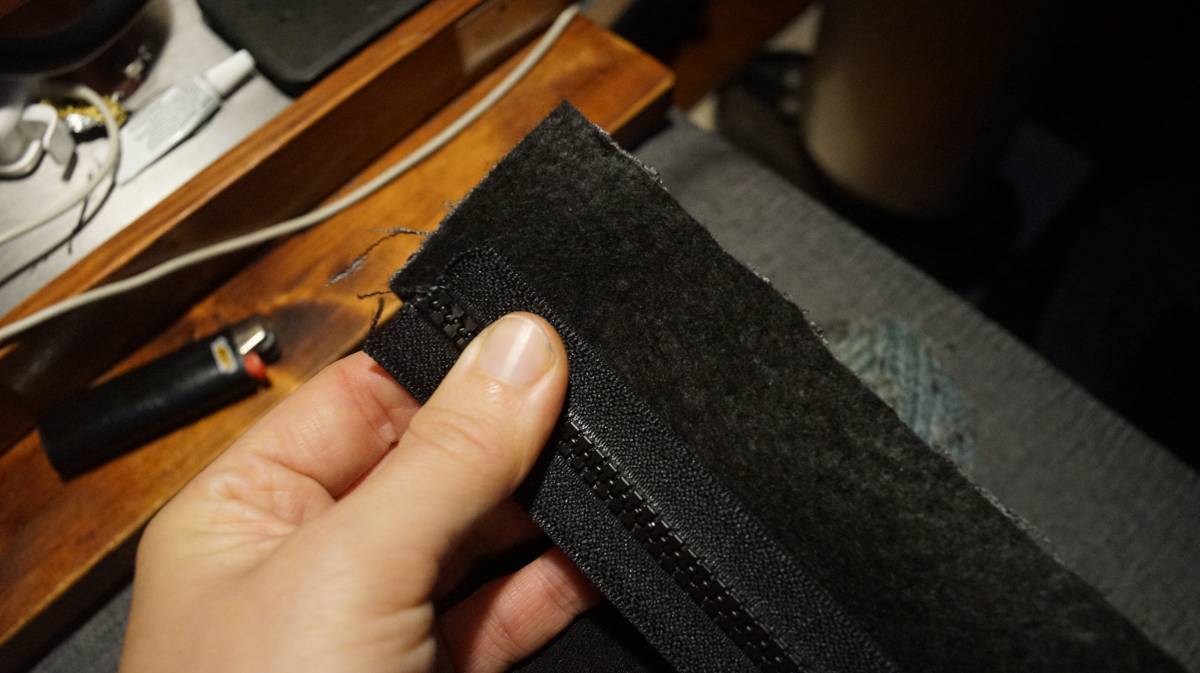
Then, unfold the zipper plaque, bottom side up, and flatten the edges that were just cut. Put the zipper overtop, with the center of the zipper aligning with the centerfold of the fabric, and sew the edges on using a tighter stitch.
Turn the zipper plaque around and remove the stitches(why we chose longer stitches earlier on), this will reveal the zipper underneath.
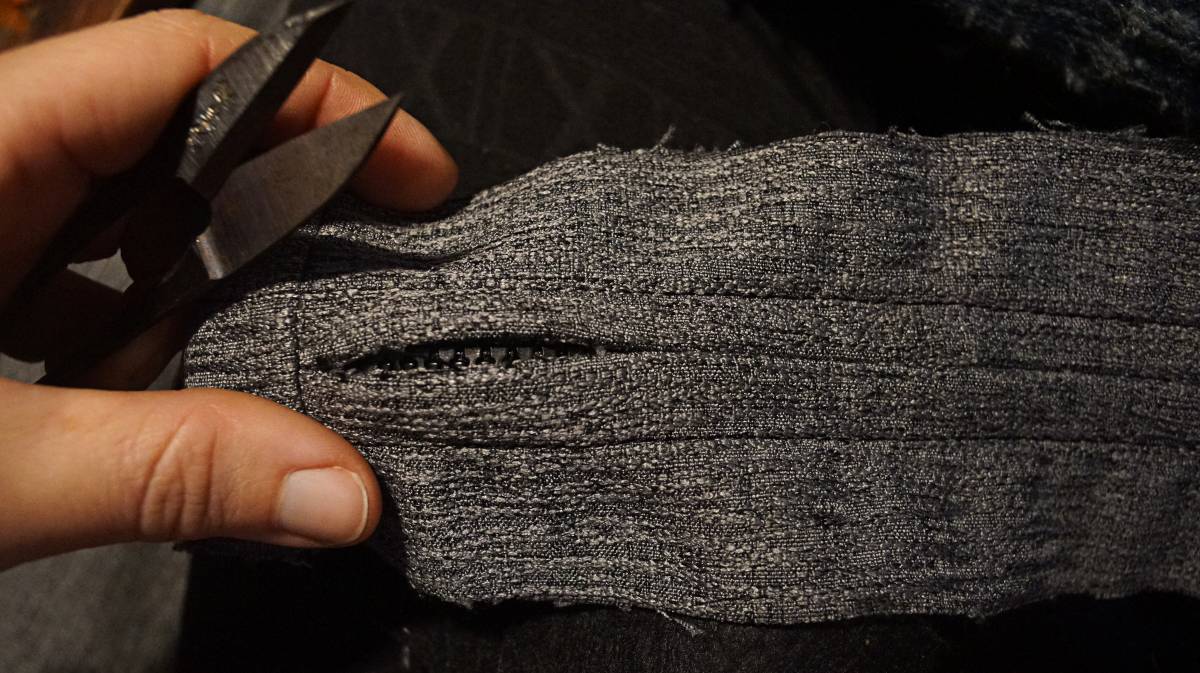
This is what it looks like underneath:
There are many ways to install a zipper slider...
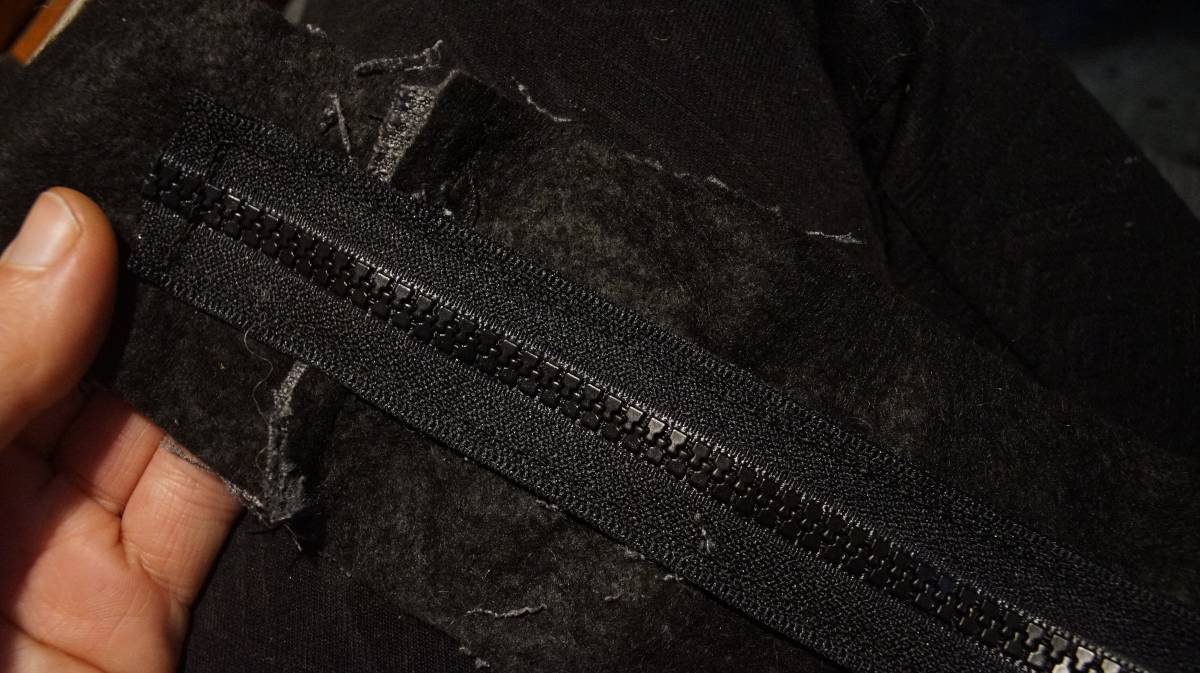
Using the narrow end: slide the narrow end, top side down, of the zipper slider on the end of the zipper teeth and push down on it, while pulling the two sides of the zipper apart. This is tricky to do since the zipper is already sewn onto fabric but we did it a few times and it eventually always goes in.
Using the wide end: Open the zipper teeth(only a short length), add the wide end of the zipper through the teeth, top side down, making sure to feed both rows of teeth through the slots.
If the zipper track is a bit longer than the zipper plaque adding stitches to lock the slider on won't be necessary because the fabric will act as a stopper. If it is possible for the slider to come off, make a few stitches through the zipper on both ends (a good machine can go through it), or melt the end teeth with a lighter.
STEP 3
Time to join the boxing ends together, but first, lay the zipper plaque alongside the top plate and make sure that they are the same length. If it's too long, cut a bit of fabric off. The same goes for the top boxing plate and the boxing sides. It is always better to dry fit the boxing strips first before sewing.
Sew the boxing together, with the outside faces facing each other(inside out) while giving 9.5 mm (3/8 in) seam allowance.
Test the finished boxing onto the backing board, sliding it around the edge to make sure that it fits. It is easier to make adjustments to the boxing strip at this point than later when the top and back plaque are sown on. If the boxing is too loose, undo the stitches from the side strips and cut a bit of fabric away on both sides.
STEP 4
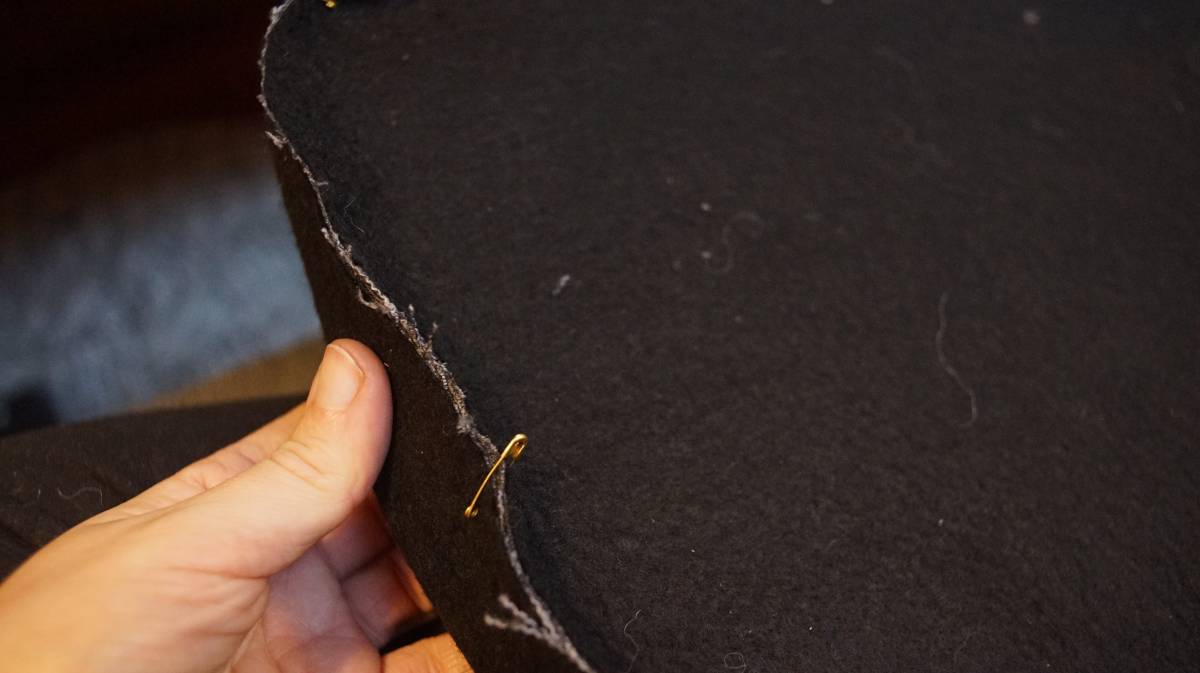
Before sewing the top face of the cushion to the boxing, do yet another dry fit onto the backing board by wrapping the boxing on the edges of the board and placing the top plaque on top. Add safety pins all around the two halves(corners first) to mark up where each side needs to go, as a beginner, winging it will only result in errors. Using basting tape is better (again, not something we have aboard right now).
Our backrests have rounded corners, so we don't need to lift the foot and turn the fabric to go around corners, but we do need to turn the fabric, while holding the two sides together as they are being fed through the machine. Because the side of our cushion is narrow at the top and wide at the bottom, going around corners can be a bit tricky, but trust the position of the safety pins(we remove them as we go), go slow and all will be fine.
If the corners don't match when sewing, don't bother continuing, stop and remove the stitches and start again so they match. If the first corner doesn't match, all of the rest will be offset. It's possible to line up corners by making slight adjustments in the fabric by pulling or pushing the boxing as you sow, that's only fine with small offsets. Too many drastic pulls and pushes in fabric can cause wrinkles in the finished cushion.
STEP 5
Position the bottom plaque on the boxing(with the top plaque already adjoined), and add pins (or basting tape) to mark up where the edges need to meet.
Before sewing, we opened the zipper so that the cover could be flipped inside out afterward. We have 3 holes in the bottom plate, so forgetting to do this isn't too dramatic(we can still squeeze a hand in to undo the zipper, but it may be more difficult to get it open with another design).
STEP 6
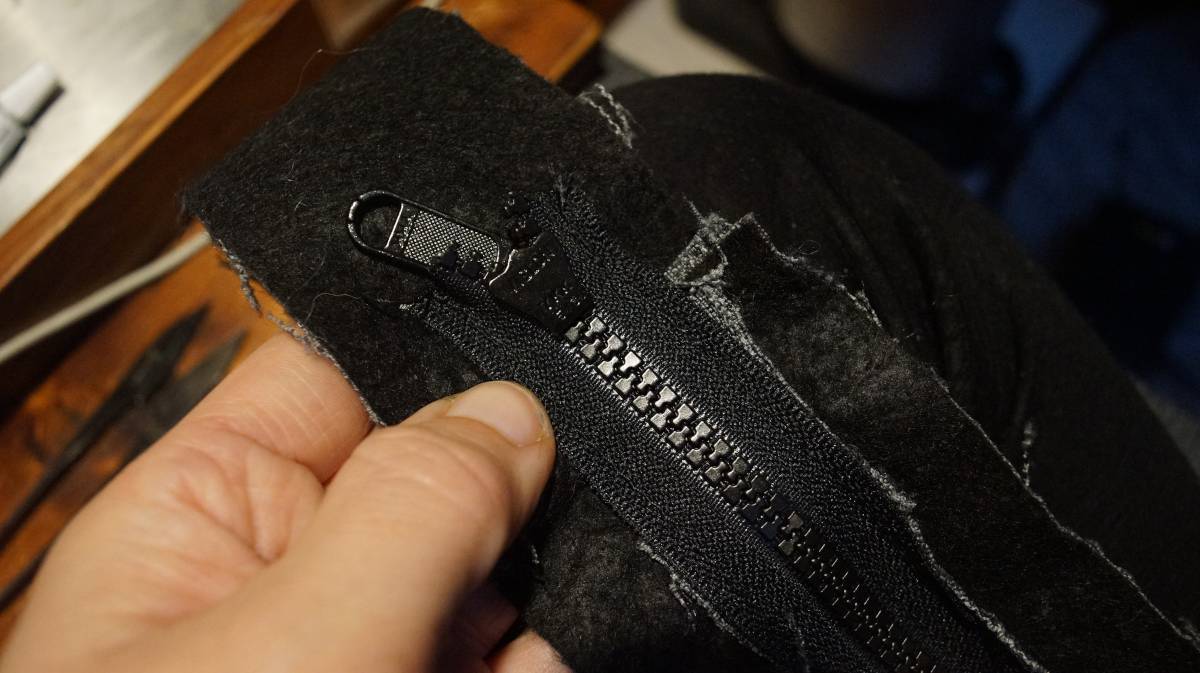
Insert the backing board and foam!
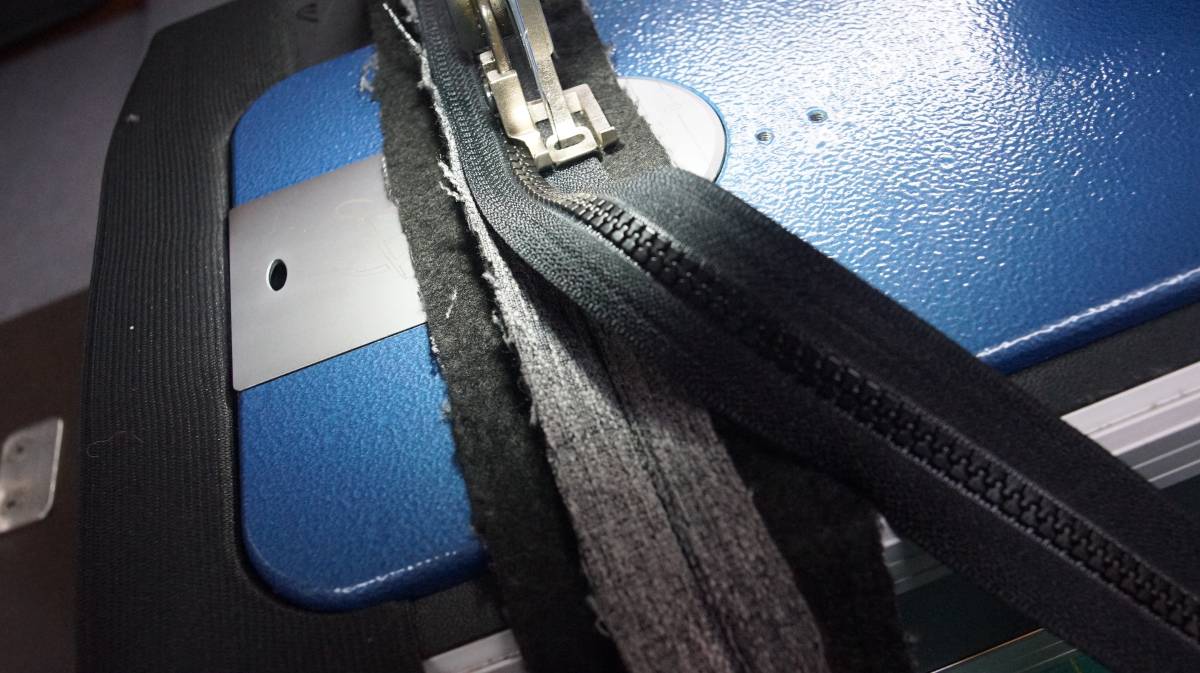
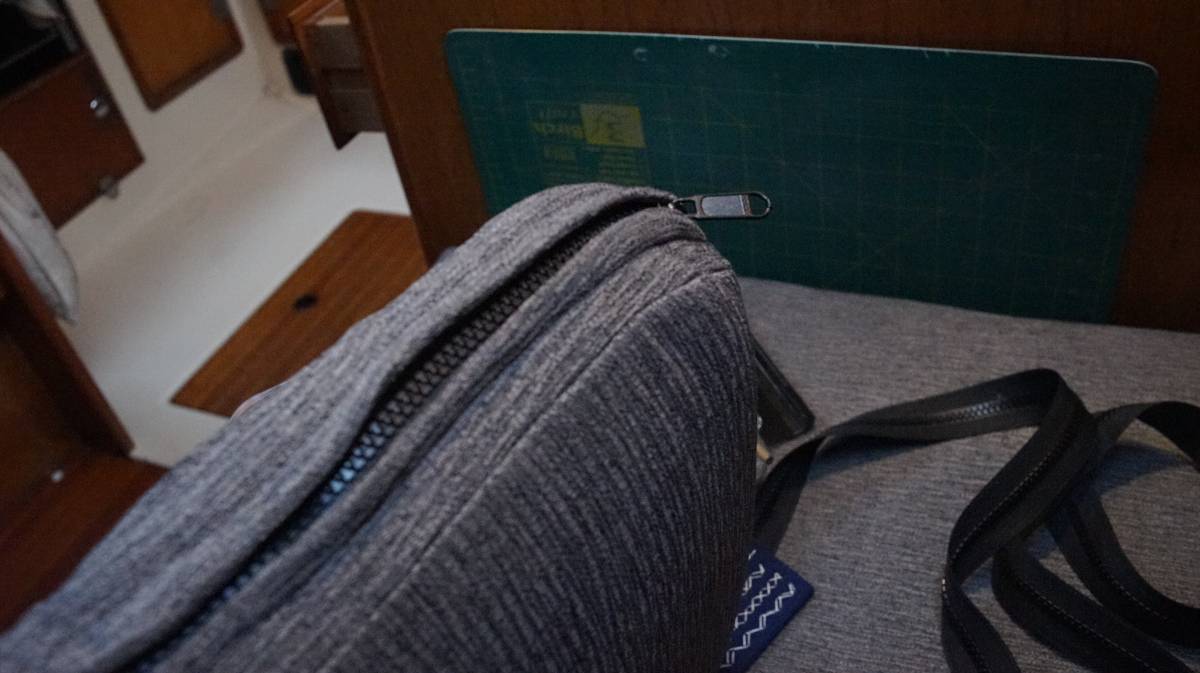
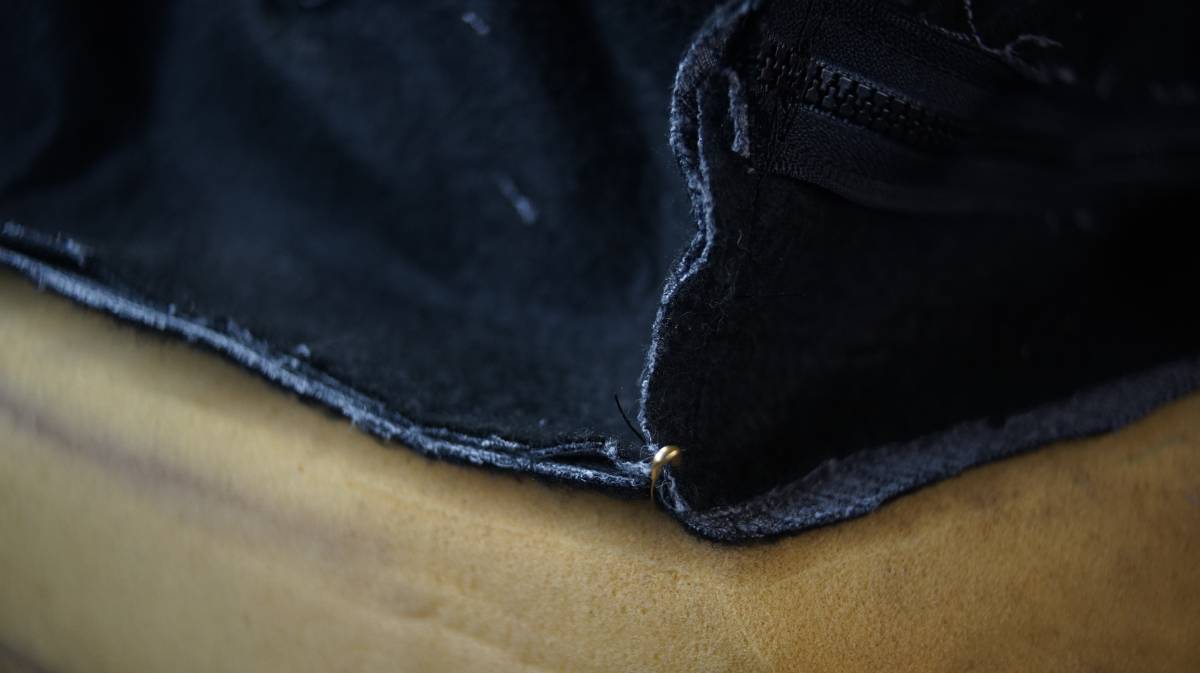
A look at the finished and functional zipper plaque, with the backing board and foam inserted.
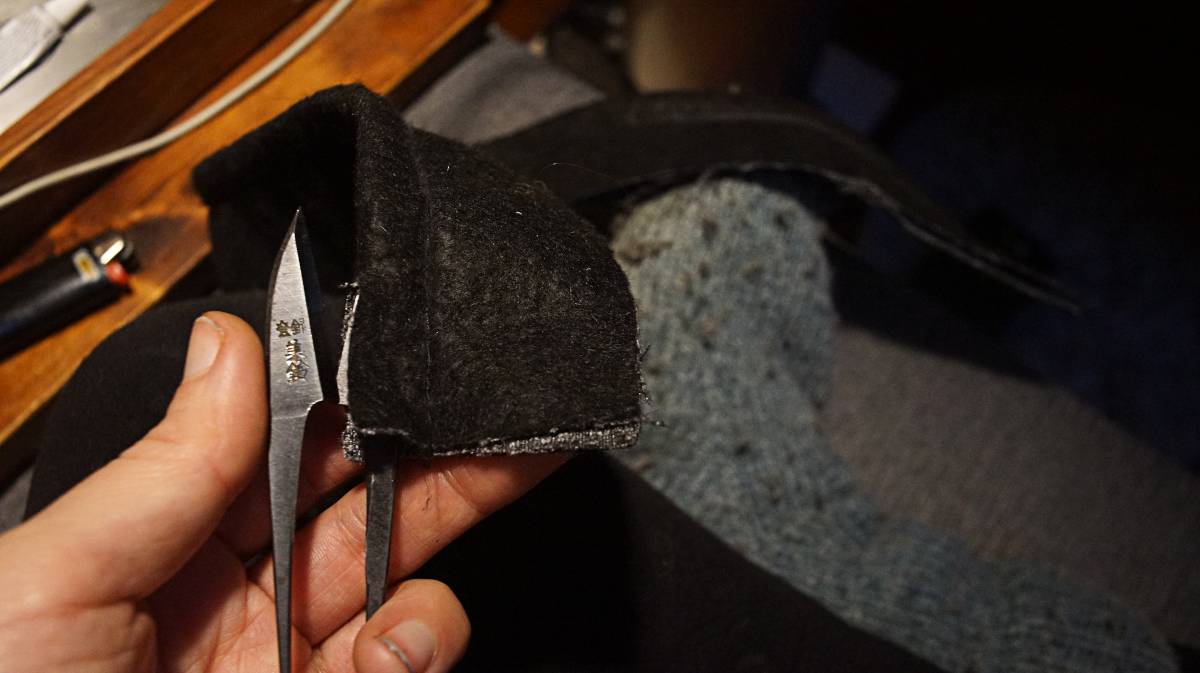
This photo shows the 3 holes on the back of the cushion. To make sure the edges won't unravel, fold in the edges, cut slits in the corners(diagonals) and sow them in. We burned the inside of the corners with a lighter so they wouldn't fray.
Other cushions
We used the same technique to make the rest of the cushions aboard Pino. It is crazy to think that there are 18 cushions aboard our boat... that's... a lot of cushions to cover.
Rectangular or square cushions are easy because the top and bottom are interchangeable:
This is not true for the many trapezoid-shaped cushions aboard Pino, with sides that meet with the hull cut at an angle to better hug the wall. Unlike square or rectangular cushions, all of these had unique plaques.
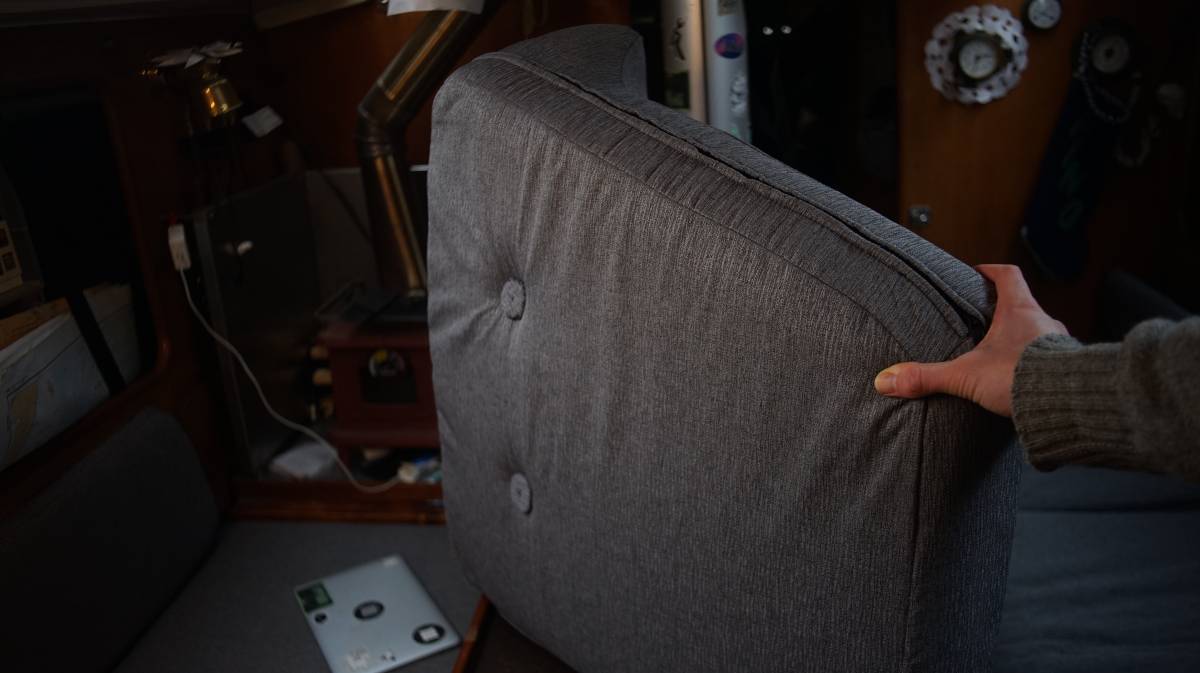
The cushion bordering the nav table was built with a hump on one side, meant to act as a backrest. We carved 4 buttons out of plastic(PE) from a previous project, made covers for them, and added them to the cushion so that the fabric could meet with the curve of the foam.
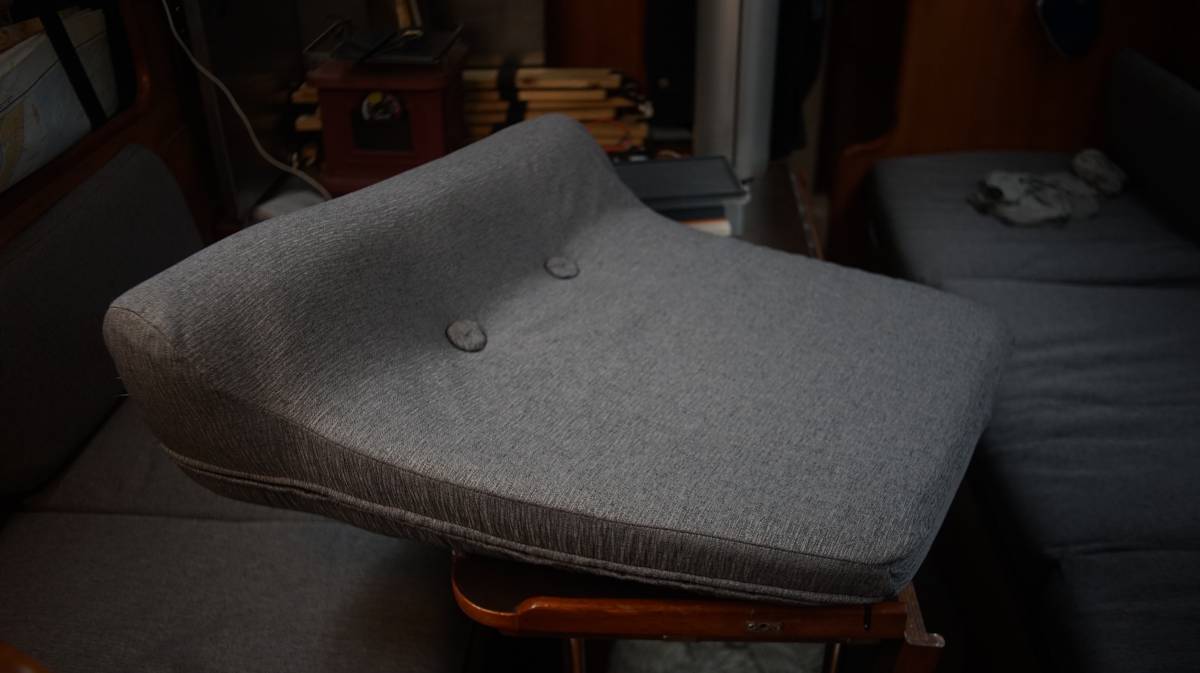
Previously, the cushion had metallic buttons which corroded and left terrible rust stains on the fabric. We were determined not to use cheap metals for their replacements.
To make the buttons, we used a hand saw to cut the PE into a rough circle(it's very sturdy but soft enough to cut), and drilled 2 holes in the center for the string. We fed the string through the first button with a large sail needle, then through the thickness of the cushion and onto a second button underneath. This was a two-person job, one passed the needle through the foam and fabric, the other compressed the foam with their hands(no needle is big enough to run through the thickness unaided).
A few days later we finished the biggest quarter berth cushion, another trapezoid.
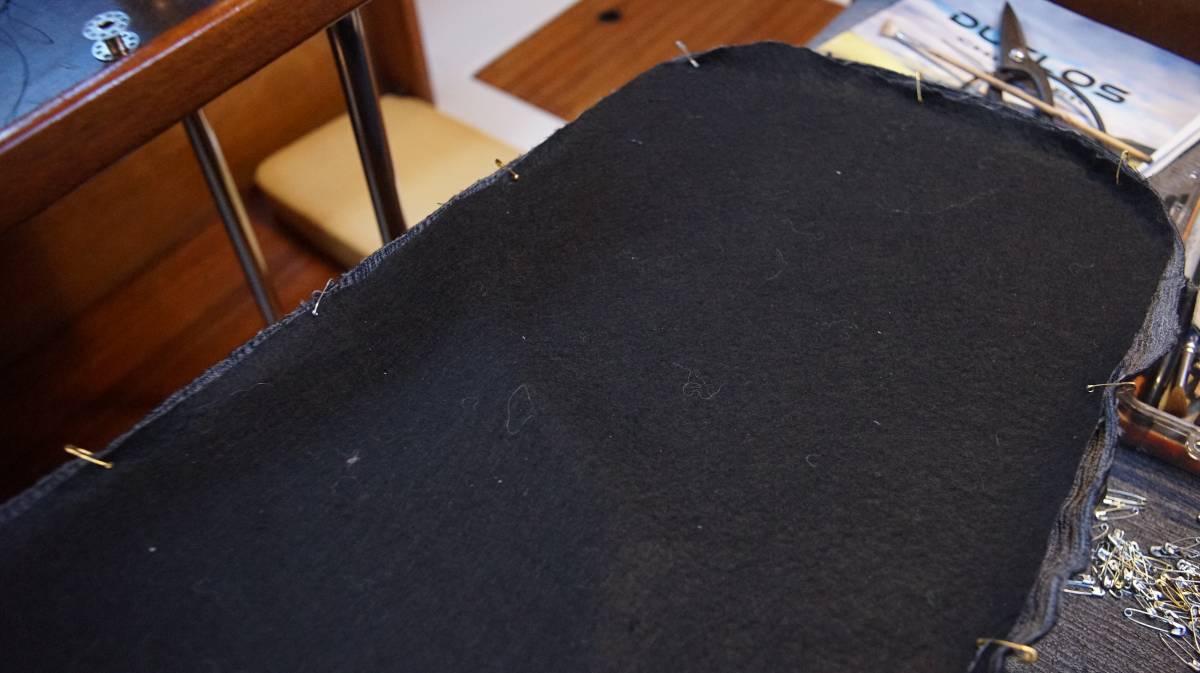
Here's a shot of the cushion without its cover, with a shot of the cover up close, showing how we kept the sides not yet sewn in alignment. Safety pins work fine to keep the fabric aligned, we remove them as we start to sew. We lay the fabric on the cushion, making sure that all of the corners line up before adding pins (corners first always).
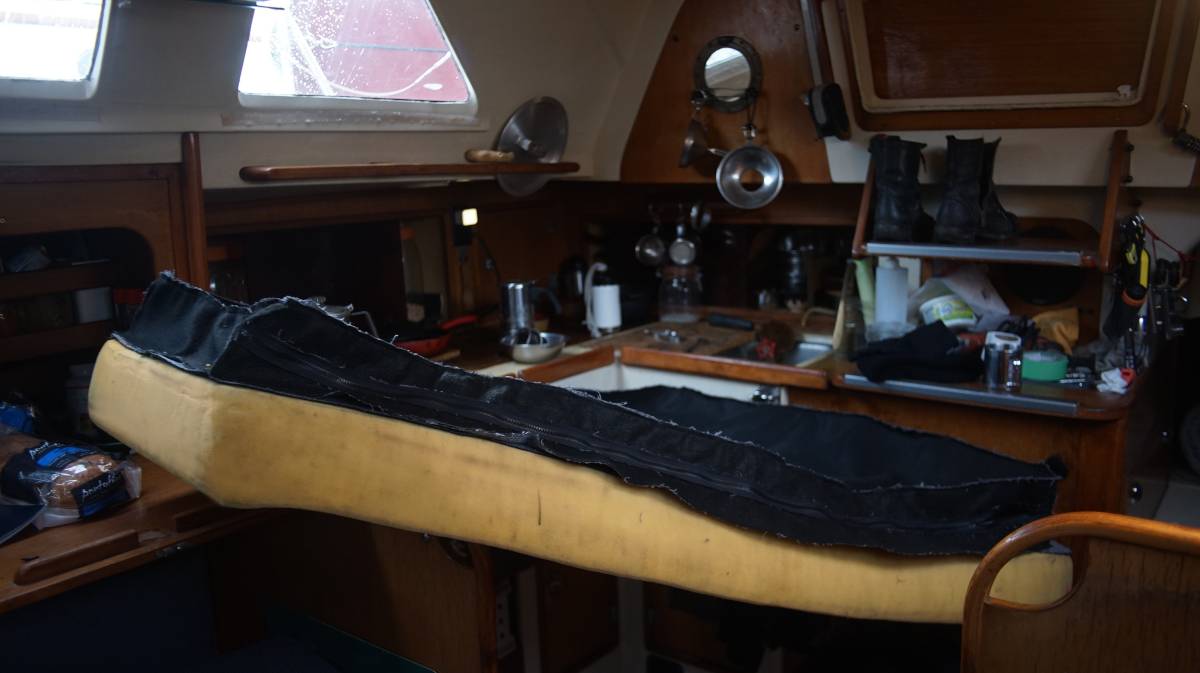
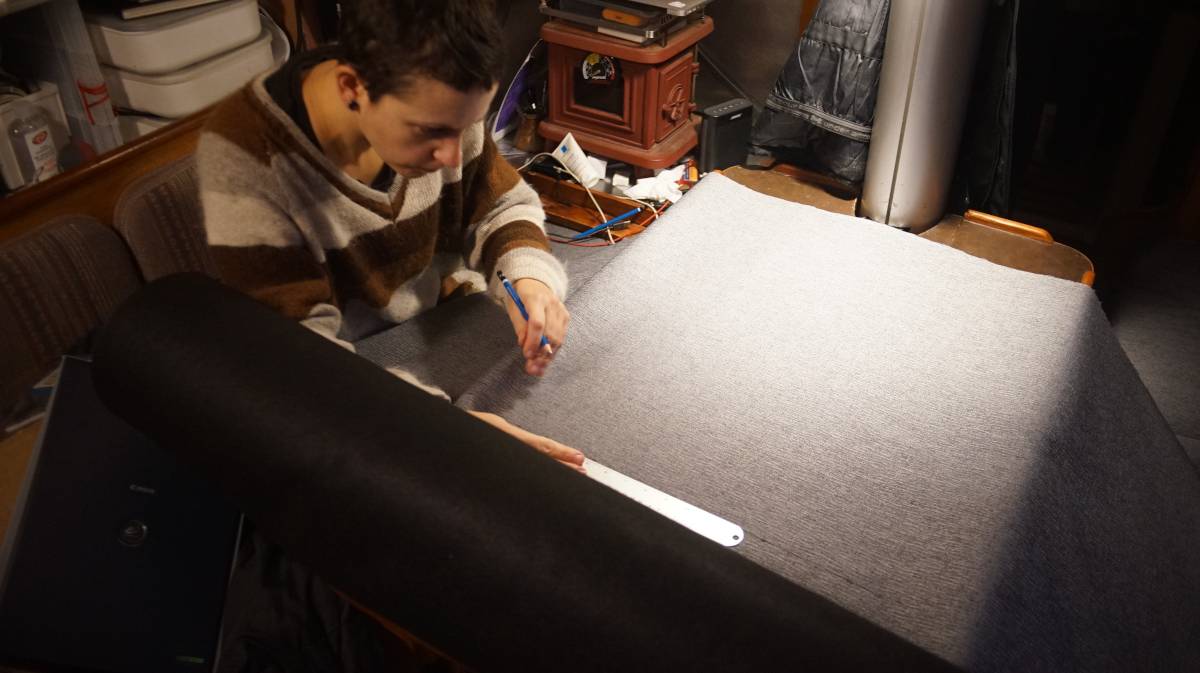
Sewing large cushions is not super easy because we don't have much room on Pino. We had to make the bed to cut the fabric to size because the table itself isn't big enough, and doing it on the docks isn't a great idea (docks are full of salt at the moment).
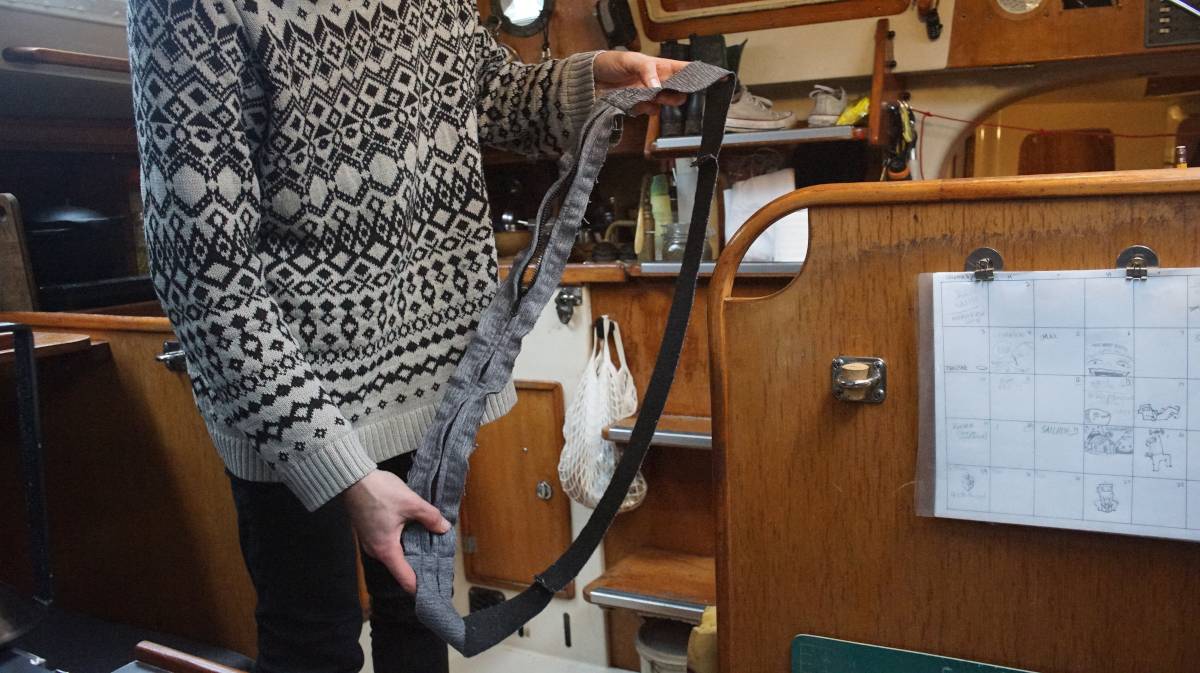
The previous cushions on Pino all had zippers on the bottom, we much prefer having them on the widest boxing side.
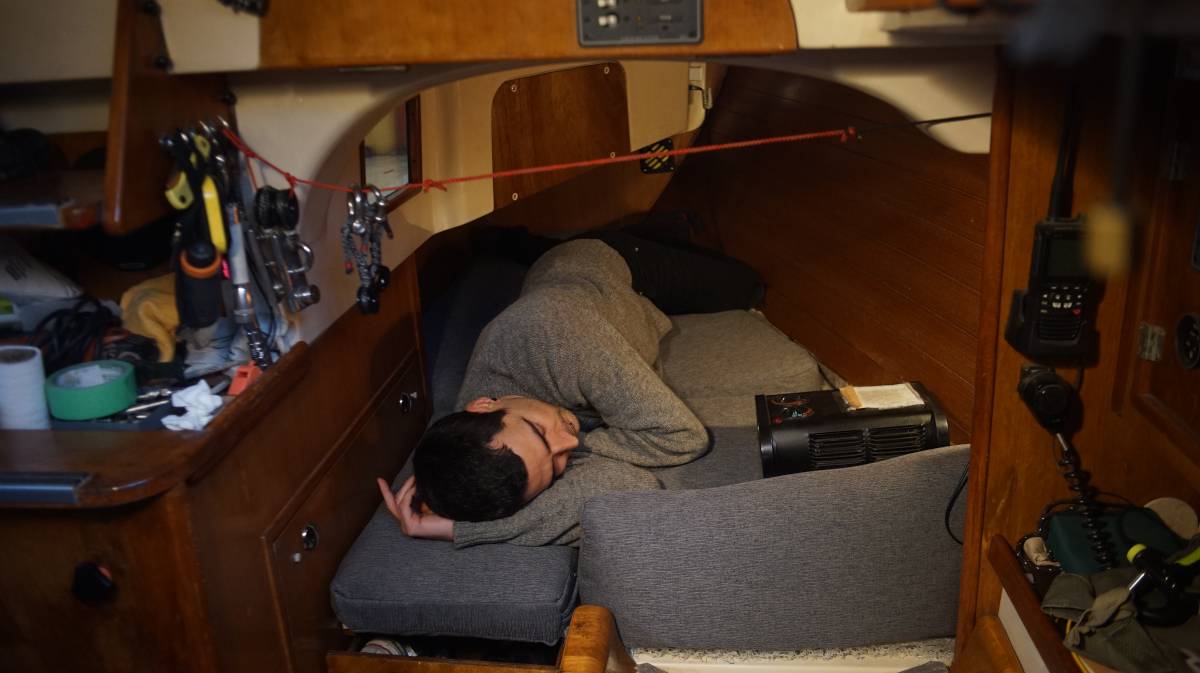
Here's a look at the finished re-upholstered quarter berth, with Devine doing a test nap on it.
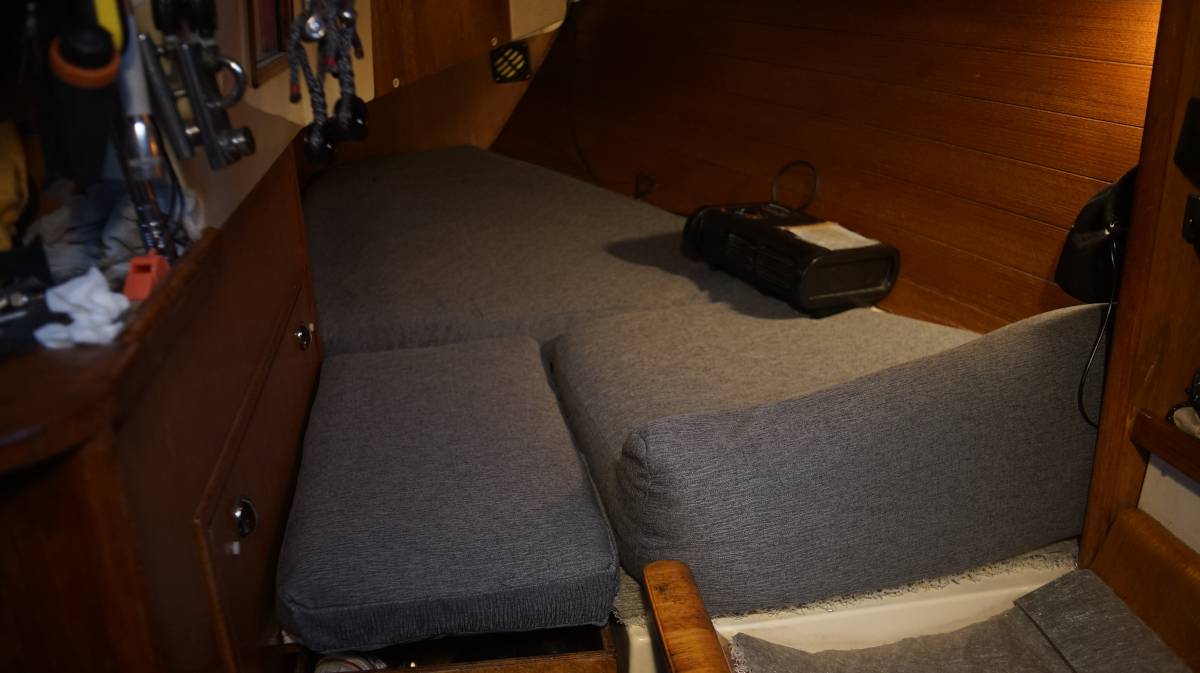
The v-berth is now mostly finished, "mostly" because we still don't have new foam to replace the platform cushion(see photo), but all of the rest have been reupholstered and are back to sleeping in their spots.
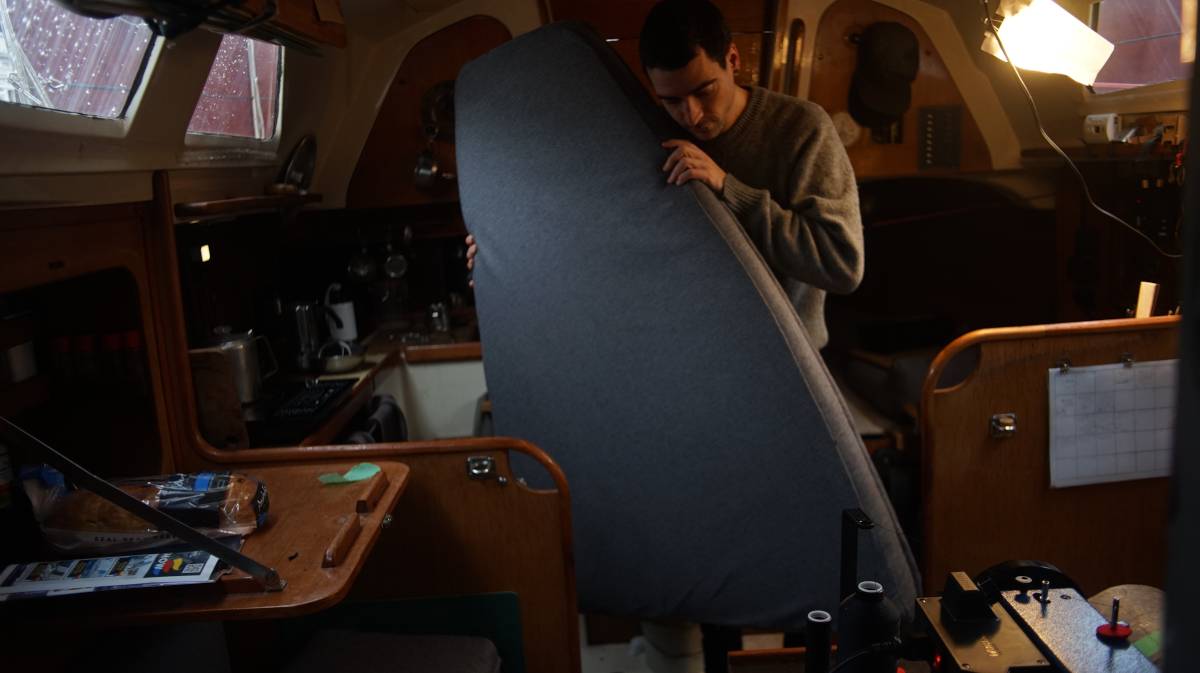
The front-most triangle cushion was tricky(like its larger quarter berth cousin), because of its size and because of the fact that both of the foam's sides were cut at a slant to meet the angle of the walls. We have not mastered sewing up bits of fabric with angles. The photo below hides a lot of the imperfections, but some of the corners have weird folds.
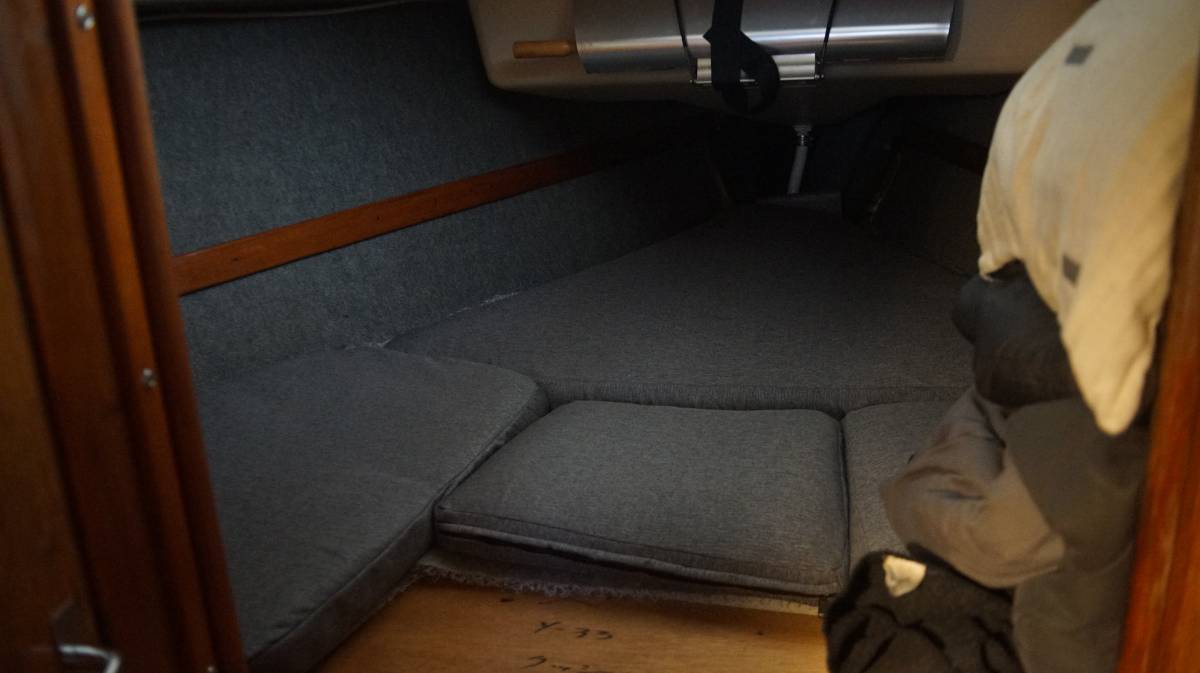
The previous cover for the larger triangle v-berth cushion had a zipper on the bottom in a long curve, we instead chose to put the zipper on the side of the cushion. Inserting it into the cover was no more difficult. It is easier to make calculations for a zipper add-on on a boxing strip than it is on a bottom plaque because the bottom and top are unwieldy, adding 3 cm(the width of the zipper) is more annoying to do on a larger piece of fabric.
Helpful resources:
See our other upholstery projects: