engine rebuild
2021.08.04
Sidney BC, Canada
Note. When we did this project, we didn't know much about work hardening, so to make sure the ones reading this don't repeat the same mistakes we will talk about what we tried, but also provide corrections on what is best to do instead.
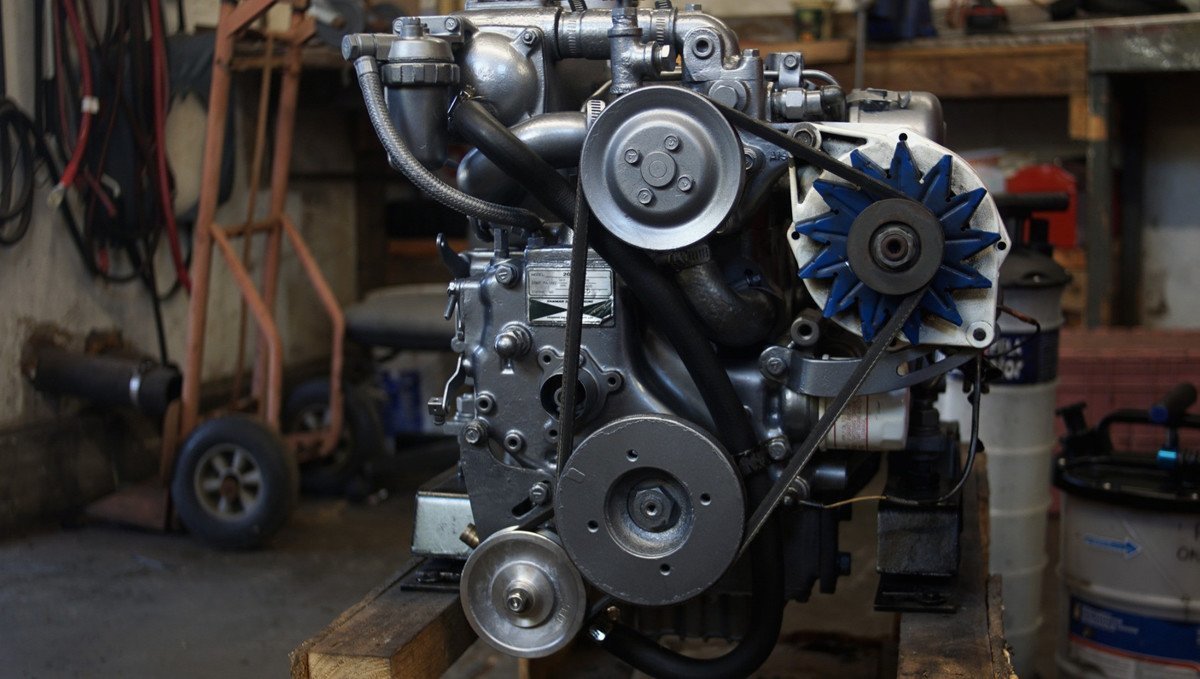
In the winter of 2021, we started to have engine issues with Calcifer, our Yanmar 2GM raw water cooled diesel engine.
We were doing regular maintenance, like inspecting the zincs, water pump, belts etc. Then we inspected the exhaust elbow, an item we don't check as often. On a 2GM, the elbow is held onto the engine head by 3 bolts, we found that two out of the 3 were rusted in place.
What to do? what to do?!
Work hardening
There was no choice, we would have to drill them out. Drilling into stainless steel is a tedious, backbreaking affair. It involves holding a drill at the center of the bolt, and to keep it there for ages. It's tricky, because stainless steel hardens when deformed, making it even harder to drill through. This is a desirable effect in some applications, but not in ours in that moment.
When a metal is permanently deformed, the dislocations (movement of crystalline imperfections through the grains within the metal) move until they hit something that stops them. One of the most effective ways of stopping dislocations is with more dislocations. When dislocations that are running on different planes intersect, they cannot move past one another. They end up piling up on one another, also becoming intertwined in the process. This is known as dislocation entanglement, and stops more deformation occurring for that particular grain, unless significantly greater energy is used. This increases the strength of the metal under any further loading. Source.
Hardening while drilling has little to do with heat, or oil, what causes it is an inadequate and uncontrolled feed rate.
The standard cutting angle of a drill bit is kept at 118 degrees and is usually for drilling into soft materials, whereas the 135-degree cutting angle is for drilling into harder materials like stainless steel. "It is designed to drill into metal without wandering around on the surface. A split point drill bit reduces the amount of pressure needed to drill (therefore reducing the chance of work hardening) because they have two extra cutting edges at the chisel edge. In addition, the 3 grooves on the shaft of the split point bit allow an easy escape of debris, eliminating the bit snags." (Source)
A surface that hardens when improperly drilled. What cruel material.
We bought some 118-degree cobalt drill bits and got to work. Note A properly fed sharp 118-degree drill doesn't work harden too bad, and can still be used, but to reduce the chances of work hardening on harder metals it may be better to use split point bits (135-degree cutting angle). It is possible to shape your own but it requires some practice, see all of the very good responses by Nathan the Machinist in this thread. His responses helped advise a lot of the notes on this page.
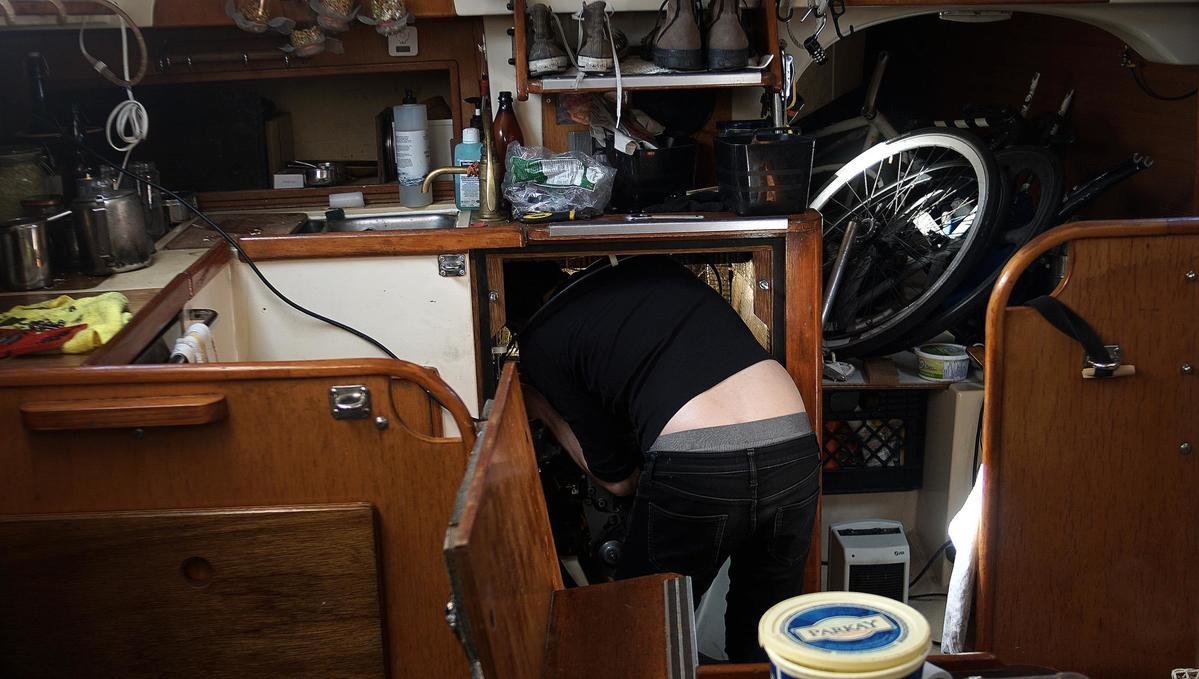
Many arm cramps and broken drill bits later, we successfully drilled out the first bolt. The second hole started well, but then we had the brilliant idea to use a screw extractor, because by then we were tired of all the drilling. But then, the tip of the extractor broke inside of the hole. "Beautiful." we thought then. Our haste in getting it out resulted in more time drilling. Ah, drilling. Our favorite.
We could not pry the tip of the extractor out. Insults didn't work, neither did crying. The only thing to do then was to continue to grind it down. Cobalt bits don't work for this, so we used some grinding stones and a dremel.
Eventually, many days of anger-grinding later, the extractor fell to pieces. The problem now was that we had damaged the sides of the hole in the process—great. Stainless steel is hard, but cast iron isn't. The two cohabited in our engine for a while, but eventually they always consume each other.
The problems didn't end there, by then the hole wasn't deep enough so we continued sacrificing drill bits to the engine gods. But then, another casualty. Our cobalt drilled bit snapped in two. Could we dare hope that the other half was just laying there, easy to reach and to remove? We had dared, but it was not meant to be. The end of the drill bit was nicely wedged inside, sideways, and any attempt at drilling near it to remove it only seemed to make things worse. The drill bit had made a home for itself in there.
"Are you comfortable in there you little shit?" We hissed, but it did little to dissuade it.
We wanted to scream.
What could we use to drill out cobalt? Was there anything that could go through that? By then it felt like we'd been living in the engine room. We were both tired, and afraid to break something else in that space. But finally, after much violence, we were able to mostly rehome the broken bit.
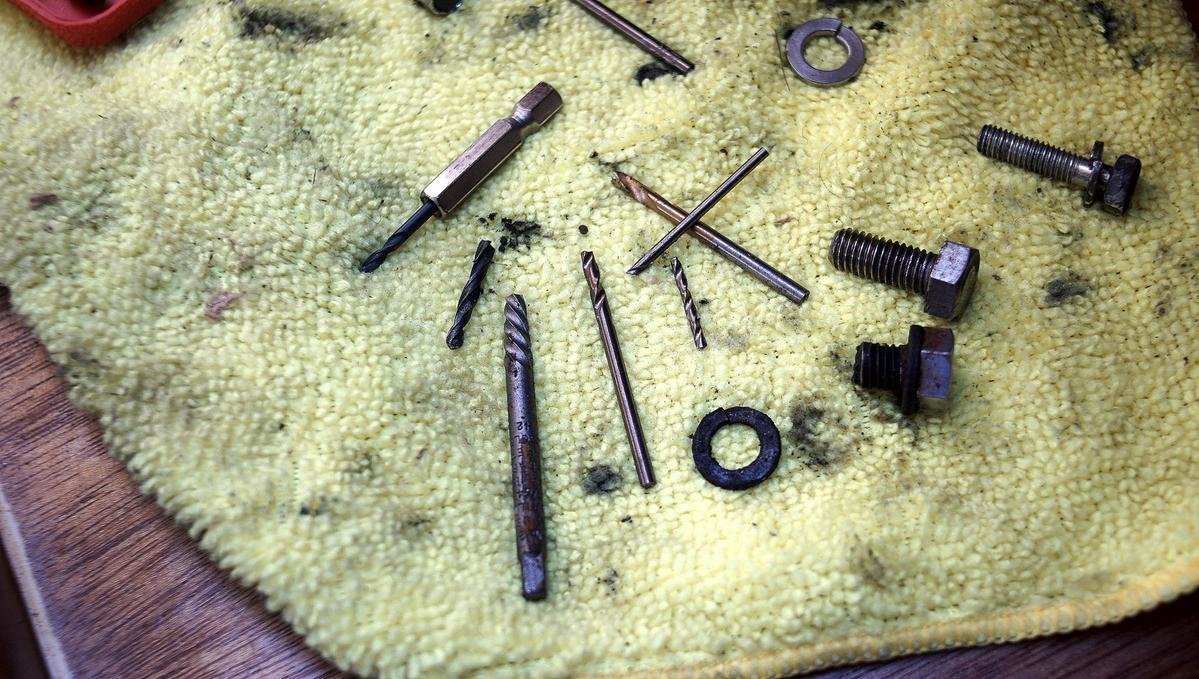
We were able to tap and thread the first hole correctly, but not the second. For the second, we had to drill a bigger hole. The edges of the hole were too damaged to use as is, no tap would bite. The only option we had was to use some SS thread repair inserts (by OEMTOOLS). The entire ordeal was a pain, especially because the larger bolt hole also meant we had to find a bigger bolt, and that we had to enlarge the hole in the elbow plate. We did all of these things, not because we wanted to, but because we had to. Every step of this accursed project was torture.
We slipped on a new gasket, added all 3 bolts and voila. The elbow was back on!
We fired the engine, and all seemed fine, but... BUT, we saw a sheen coming out with the exhaust water. "What NOW?!" we said, distraught and near-defeated. Our boat was vomiting up a nasty slick. We assumed that this was left-over loose carbon from the elbow, since we had messed around in there. People told us to run the engine long, and hard. They said to go around the bay for an hour to test it. We did this, but found that this did not help.
We checked the dipstick for water in the oil. We didn't find water in there... but noticed that the oil level was down. We were now certain that the sheen in the water was from oil. Somehow, the oil in the engine was breaking past its seal and mixing with sea water. Now, we knew better than to try and run Calcifer. We didn't want to disperse any more engine oil in the water.
By then it was June, and we had to leave the Victoria Harbor for a haul-out in North Saanich. We made it all the way there by sail and by using our new-to-us oars.
Speaking to Ben Gartside, a well-known local diesel mechanic, we were told that the best thing to do was to check the head for pin holes. On raw water cooled engines pin holes often form in the head. We removed it and we found the culprit, a pinhole at the point where the elbow meets the head. The good news was that we had found the problem, but the bad news was that all the work we had done prior to that point was for nothing because we wouldn't be able to keep the head. Fantastic. Had we had more experience with engines, we would have taken the head off first to look for issues, but it took us a long while to gather the courage to do it. In hindsight, it is an easy thing to do, we had no reason to be afraid. Taking the head off would have made drilling the bolt out easier, but in this particular case it wasn't necessary because of the second issue we found. Had we taken it off first, we would have found the hole and would have saved ourselved a lot of pain.
However, removing the head for nothing is not ideal, because it means you have to replace the gasket. Having an extra on hand is important.
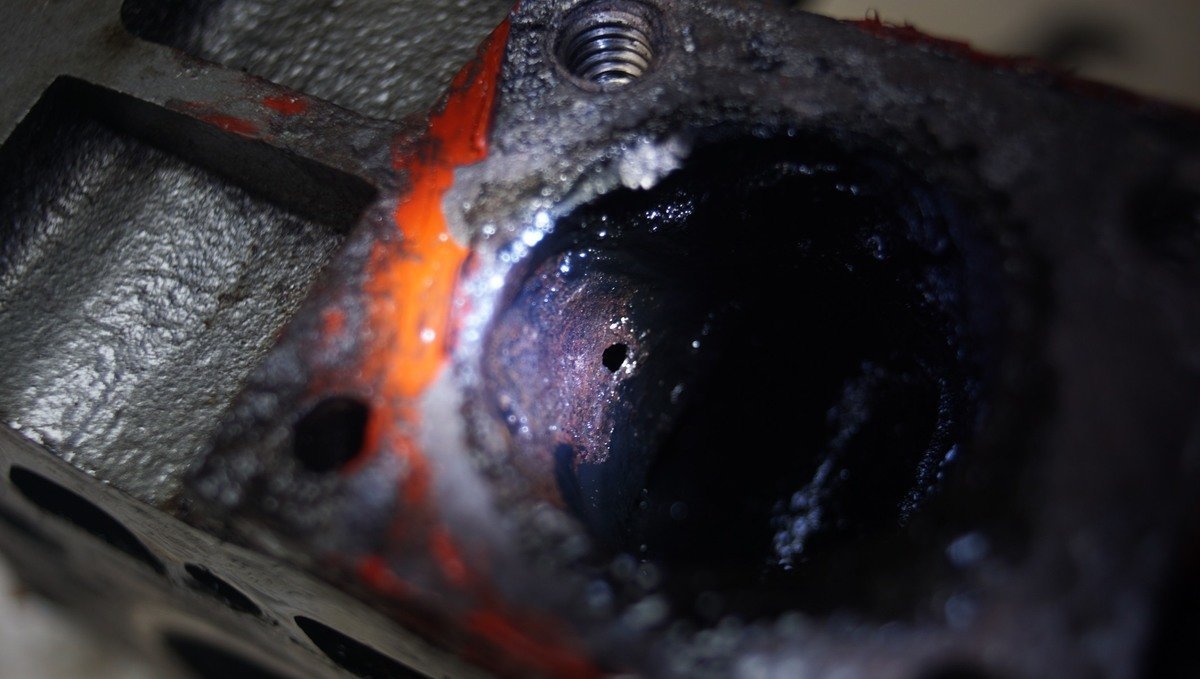
It was likely that the pin hole was there a while, but that the built-up carbon was blocking the passage. When doing maintenance on the elbow we had cleaned the area, and in the process we had dislodged the carbon. After that the oil could pass freely, unhindered. It was a problem waiting to surface, if not now, then later. I am glad we found it earlier.
Now we knew the source of our engine issues, but weren't sure what to do next. We knew there were ways to repair the pinhole, such as 'pinning', but we didn't trust that as a long-term, dependable solution. In a bind pinning is a useful technique.
Ben told us that he had a spare Yanmar engine head he could sell us. He also mentioned having a Yanmar 2GM20F engine that he was re-building, but it was missing some parts.
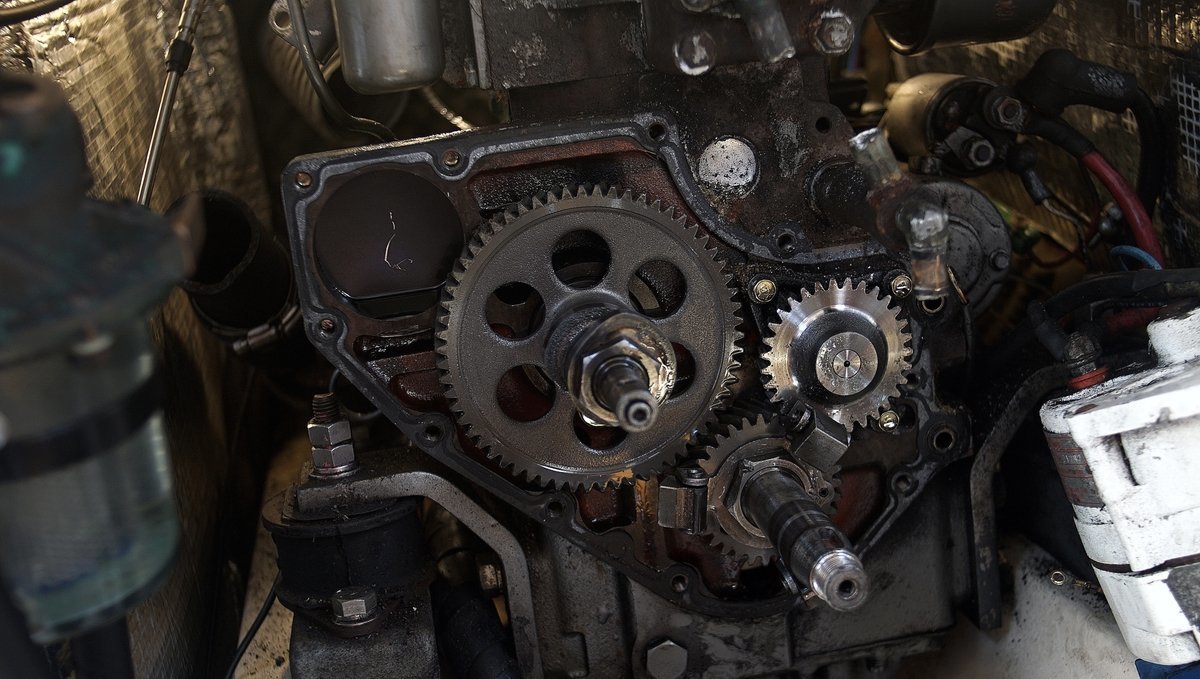
Our engine wasn't doing too bad, but it was due for a rebuild. We wondered if getting a freshwater cooled engine instead would be better. Ben told us that the 2GM and 2GM20F were very similar, so we agreed to use parts of our 2GM to fix it up. Combining the two engines was a sort of rebuild. As freshwater cooling was better overall while in salt water. Because the engine wasn't new, we'd get it at a good price.
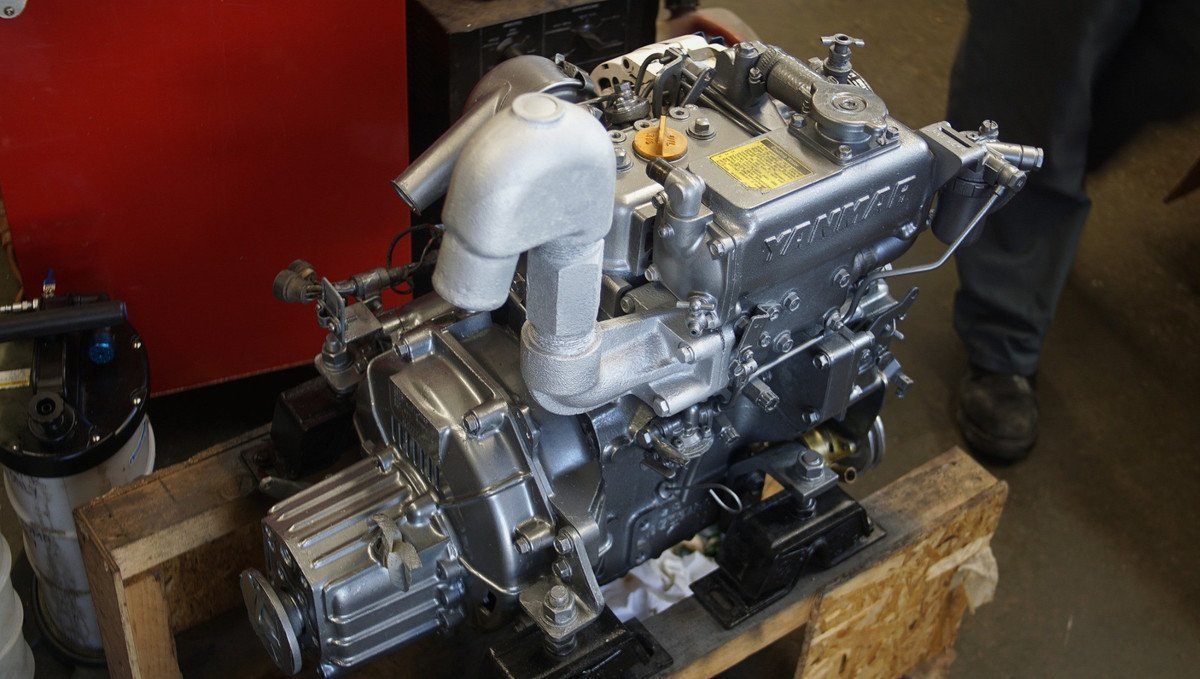
On August 3rd, our boat was towed to the Gartside dock, and we hauled Calcifer out with the help of a crane. By then, it was lighter because it was missing many parts which had been appended to Calcifer II.
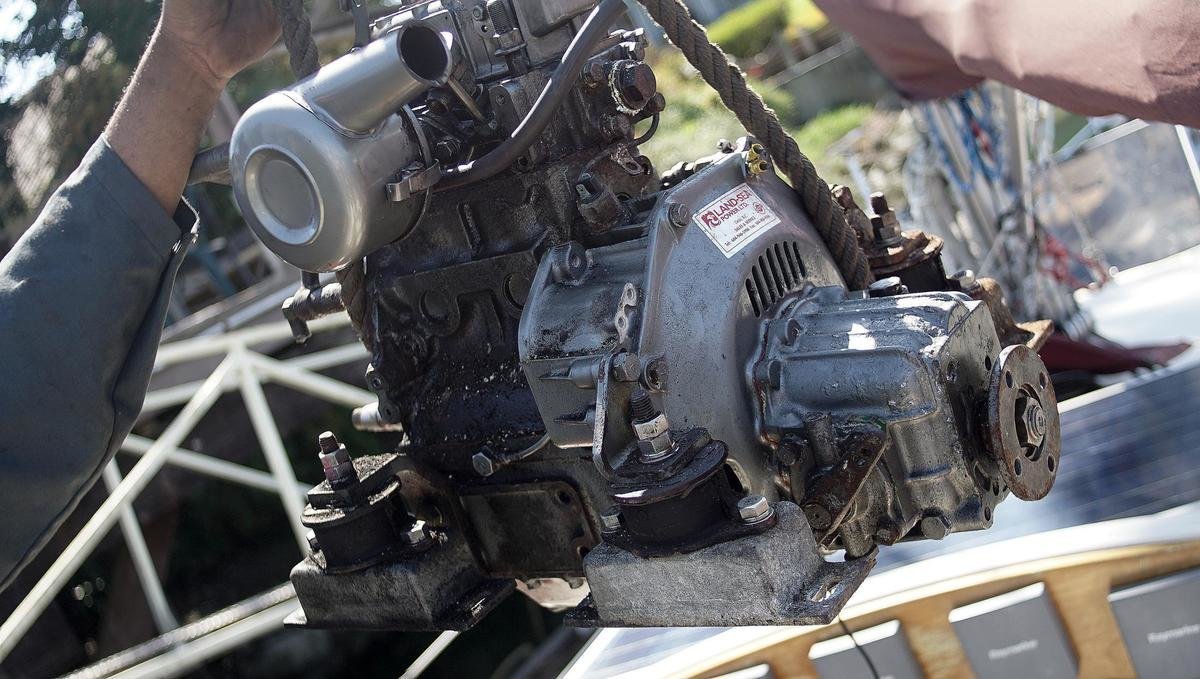
Then, Calcifer II moved in. Re-aligning the engine was tricky, the engines were similarly-sized, but we had to re-drill holes for the engine mounts. The body of the engine also had a few major differences, requiring that we changed a few ports, and hose sizes, but in all, Calcifer II is now well-seated.
The engine roared to life! After nearly a year of struggle, it was a nice feeling to know that we had a working motor again. We asked for help with the installation, neither of us felt comfortable installing our new-to-us engine. Sanjay, a great guy and amazing mechanic was there to help with the work. We assisted with every part. Could we do it ourselves next time? Maybe. Although, we realize that doing this sort of install without the proper tools would be very difficult. Sanjay had the biggest socket wrench we'd ever seen, as well as years of expertise.
Getting help isn't cheap, it put a big dent in our wallet, but even with all of the costs added up, it's still cheaper than any motor alternative that we had considered.
Do we really need an engine? We asked ourselves this a lot this past year, it's why we got the oars, although after much deliberating, we decided that maybe we weren't ready to remove the engine entirely. We will continue not to depend on it, but having it means we're afforded a bit more liberty, especially while we're in British Columbia, a place with calm, calm summers, countless narrows and much traffic.
- Used 2GM engine: 2,000 $
- New water pump: 458 $
- Antisiphon valve: 135 $
- Engine paint: 50 $
- Labour: 3,400 $
